

Smart Delay
YouTube video (embedding unavailable)
A new window has been added to the Tools section, under Smart Delays. This feature lets you see all users who are currently in a Smart Delay. With this window, you can easily monitor and manage the users paused in the flow, which ensures greater visibility and control over active delays.
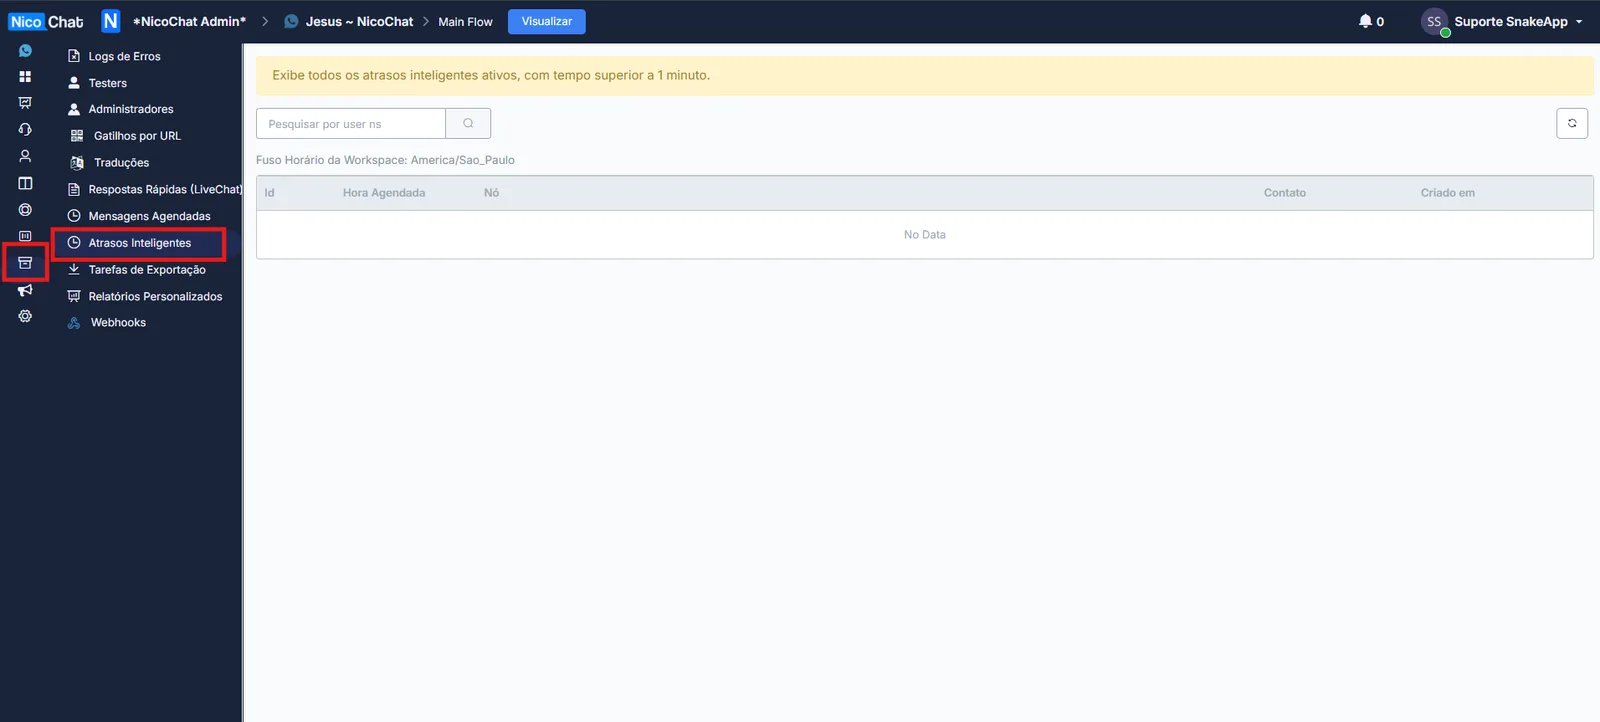
After a user goes through the Smart Delay action, their details appear in the Tools section, under Smart Delays. This way you can track which users are currently under a delay and manage the status of each one.
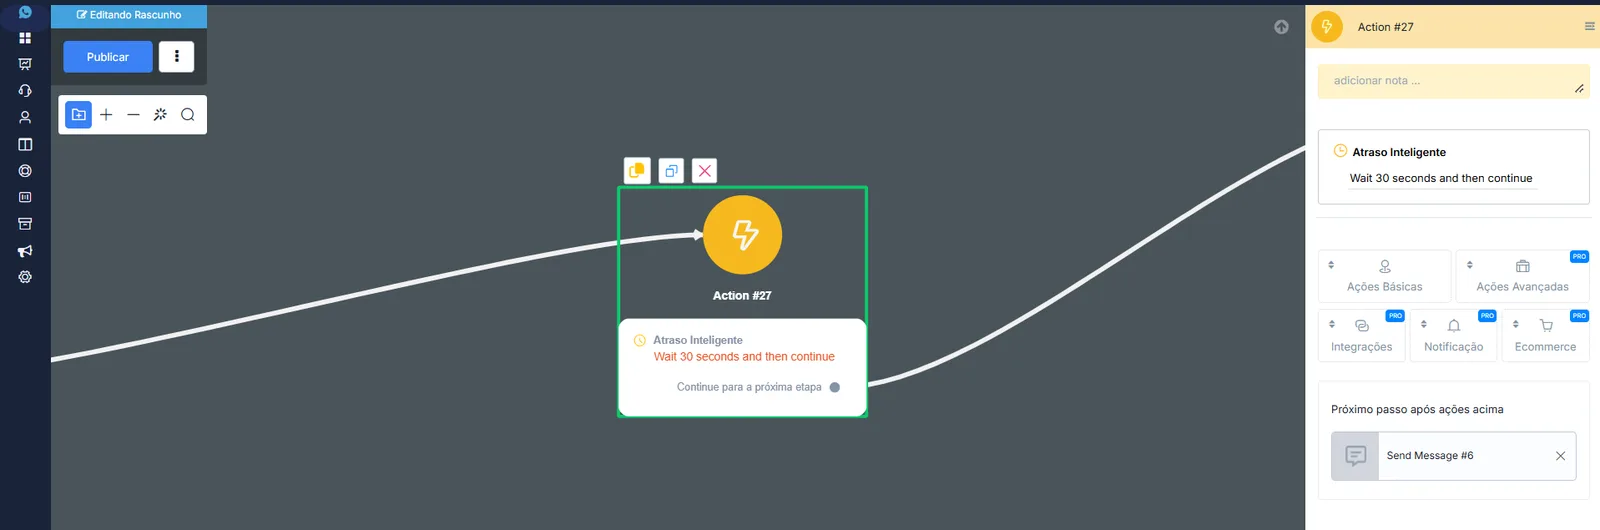
Each Smart Delay is given an ID, which makes it easier to identify and manage.
- Scheduled Time: this field indicates when the Smart Delay will be canceled, showing the exact time the delay ends and the flow resumes the interaction.
- Node: indicates the node that triggered the Smart Delay, which shows where the delay originated in the flow.
- Contact: here you see the contact that is under the Smart Delay. This helps identify which users are affected by the delay at any time.
- Created At: this field shows when the Smart Delay started and gives an idea of how long the user has been in the delay.
You can cancel a specific user's Smart Delay at any time, which gives you full control to manage the delays as needed.
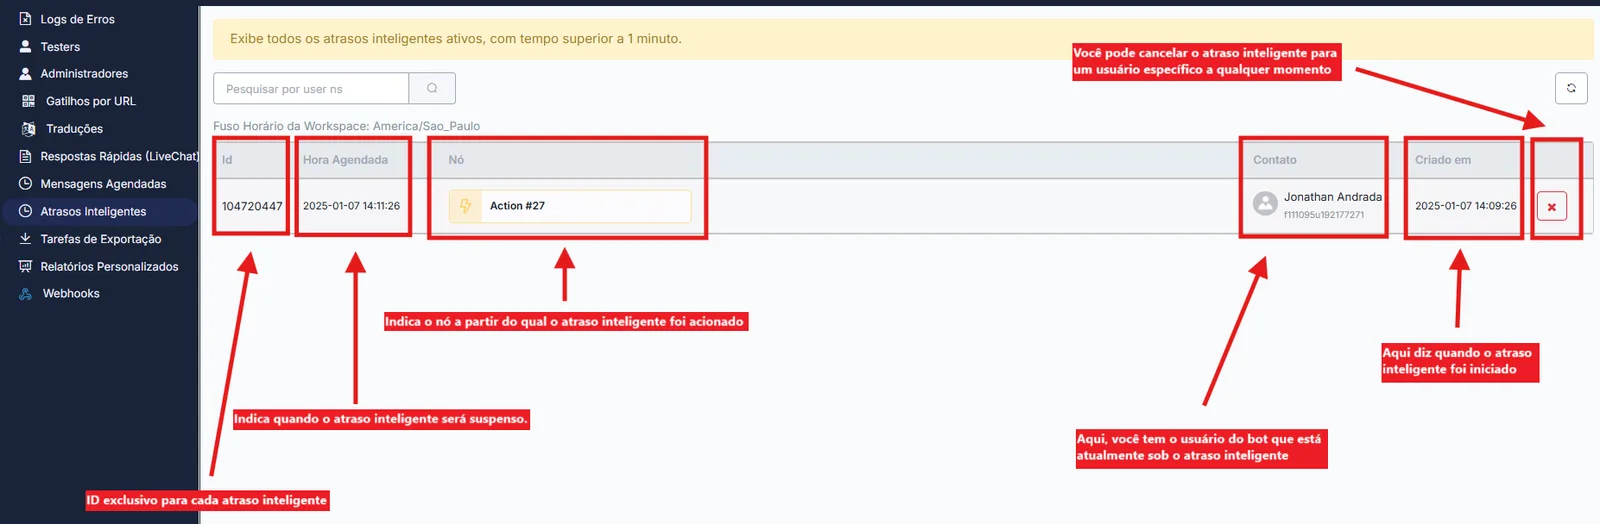
- Follow-up messages: you can use Smart Delays to send follow-up messages to users who showed interest in a product but left without completing the purchase. Trigger Smart Delays to send 3 to 4 messages over hours or days, gently reminding them of the product, offering discounts or suggesting related items.
- Event Reminders: for users who showed interest in an upcoming event (webinar, sale, product launch) but did not complete the registration or sign-up, Smart Delays can send reminders at the right time. The messages can be sent 10 hours, 5 hours or one hour before the event, to encourage attendance.
To add a Smart Delay to your flow, follow the step by step:
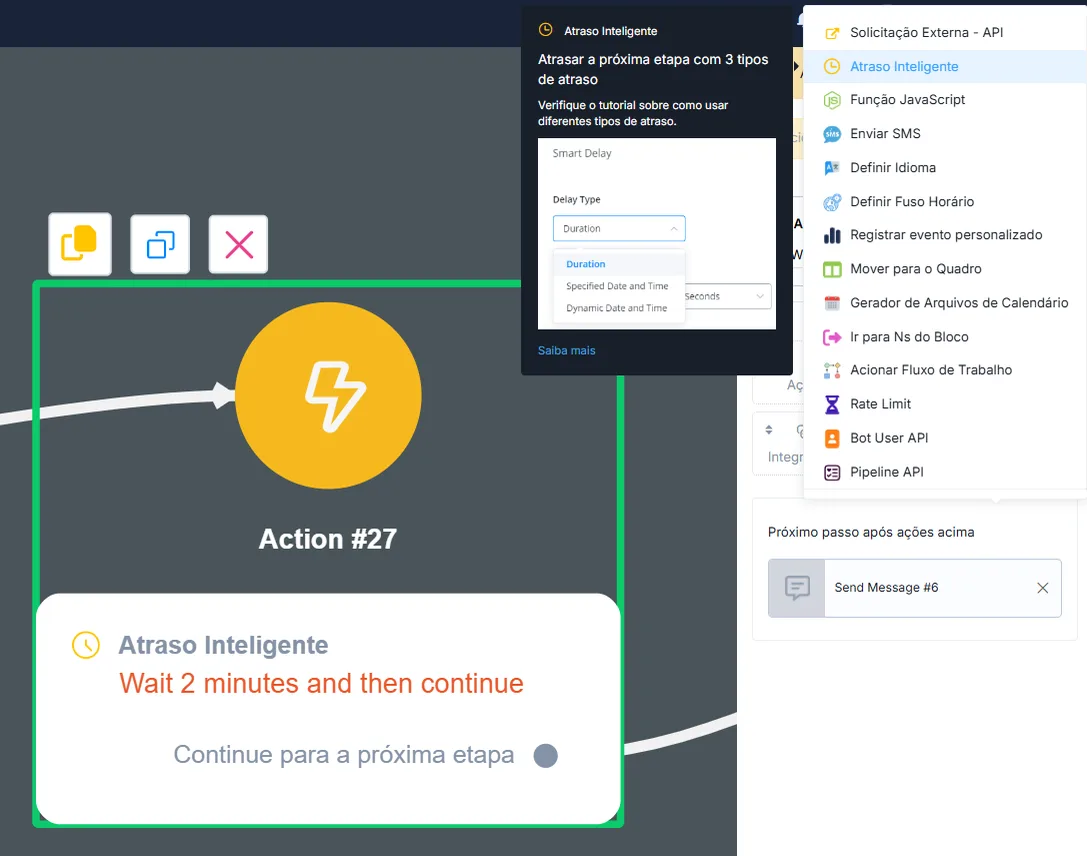
Create an action block, select the advanced options and click Smart Delay.
After selecting the Smart Delay, the next window offers three ways to configure the delay, available under 'Delay Type'.
- Duration
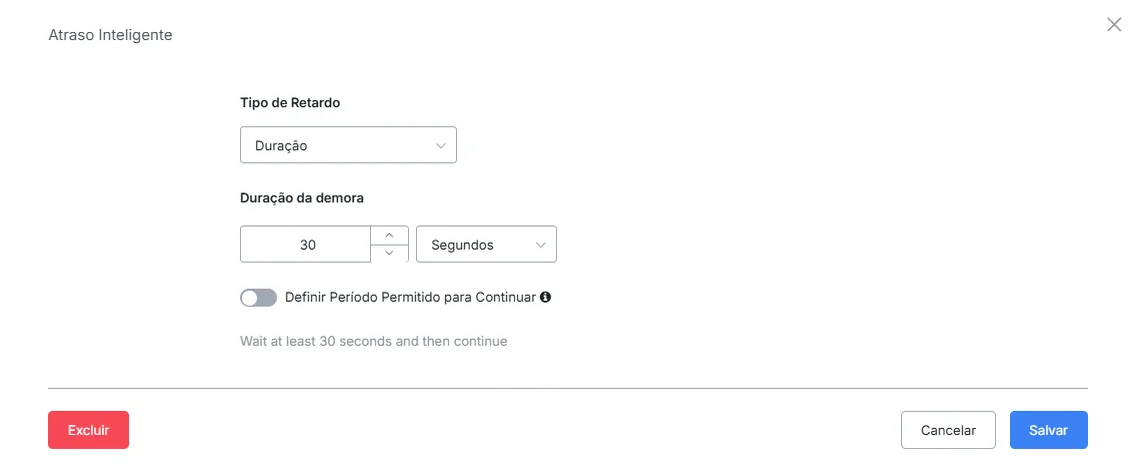
As soon as you create a Smart Delay, the default settings are applied automatically. But you can change the 'Delay Type' and the delay duration as needed.
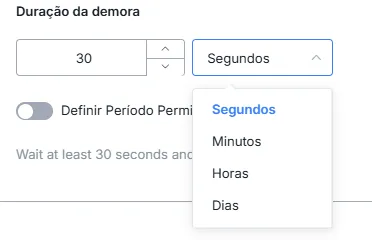
You can set the delay duration in seconds, minutes, hours or days.
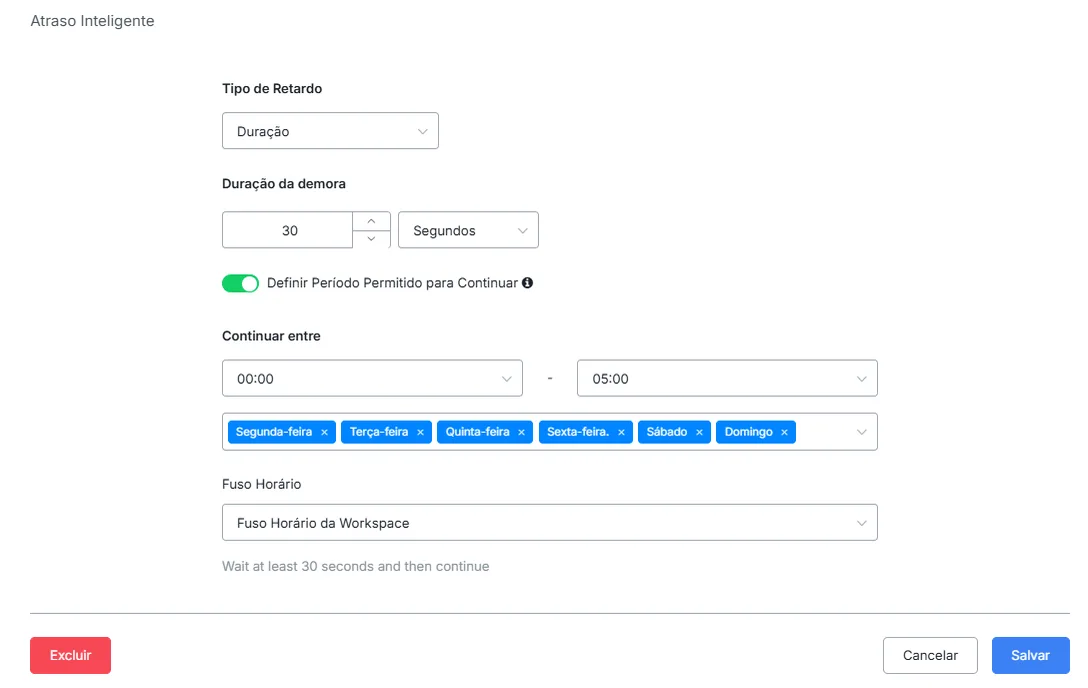
If the 'Set continue time limit' option is enabled, you can configure the times when the delay can run. In the example above, this means the trigger will fire only between 00:00 and 05:00 on the selected days. That is, if the user goes through the block outside that period, the trigger will run as soon as the allowed time arrives.
- Specified Date and Time
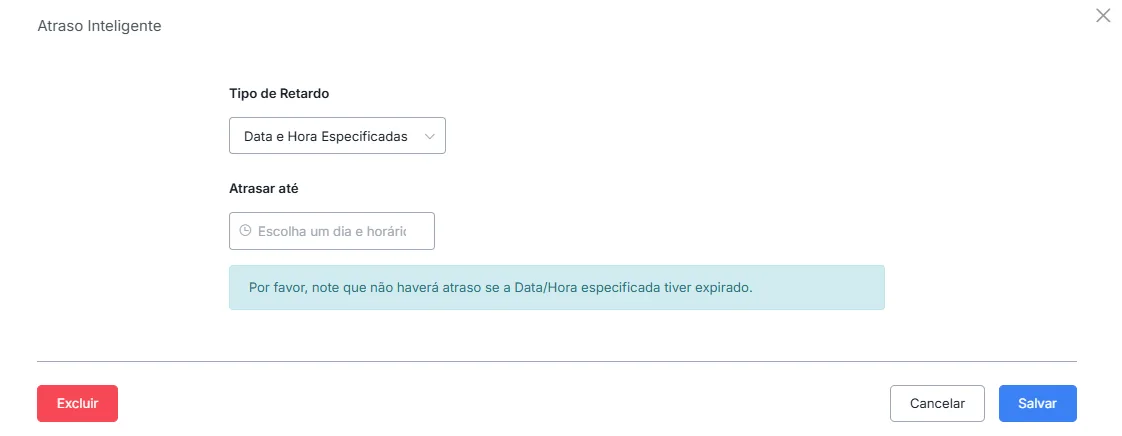
In the 'Specified Date and Time' delay option, you can set the exact day and time the delay must run.
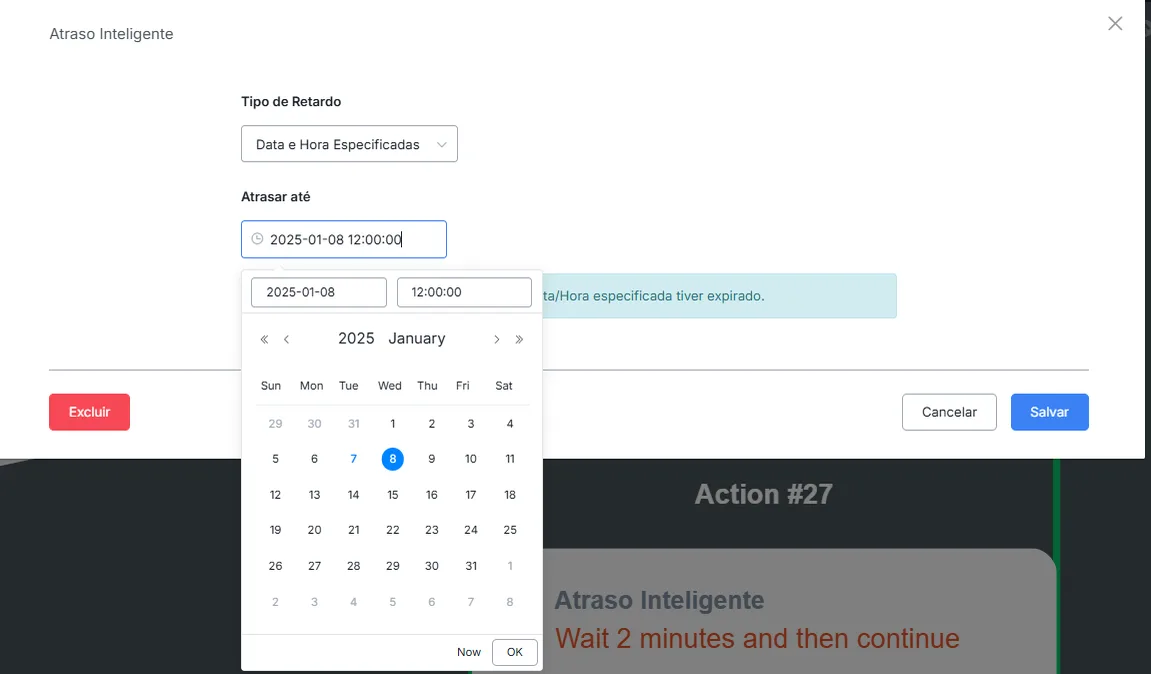
In the example above, the delay will run only on the 8th, at 12 PM. That is, the delay will wait until the set date and time before proceeding to the next step.
- Dynamic Date and Time
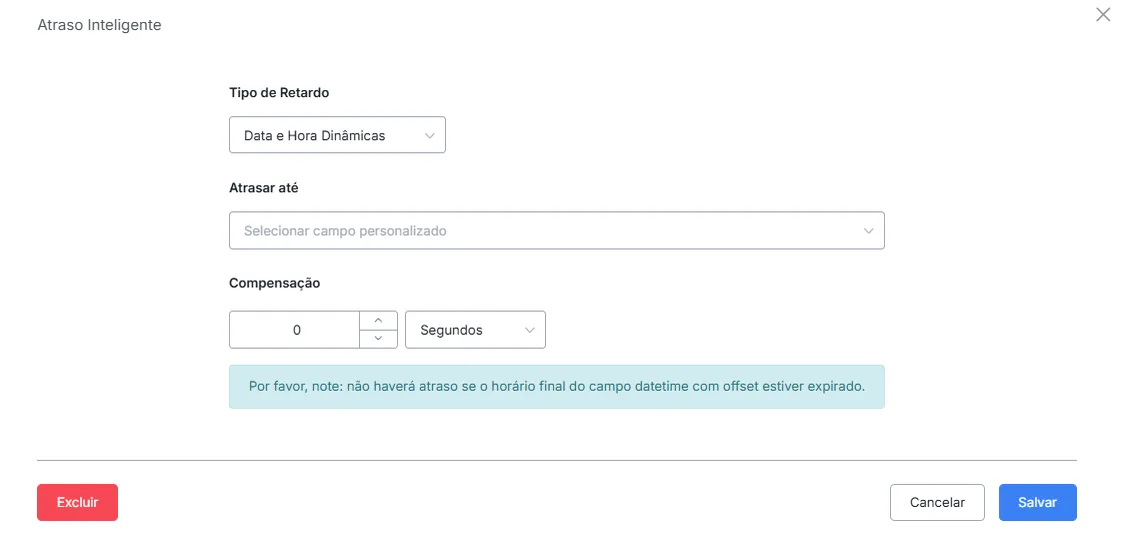
In the 'Dynamic Date and Time' delay option, you can set the exact day and time the delay will run, using variables to determine the moment of the operation.
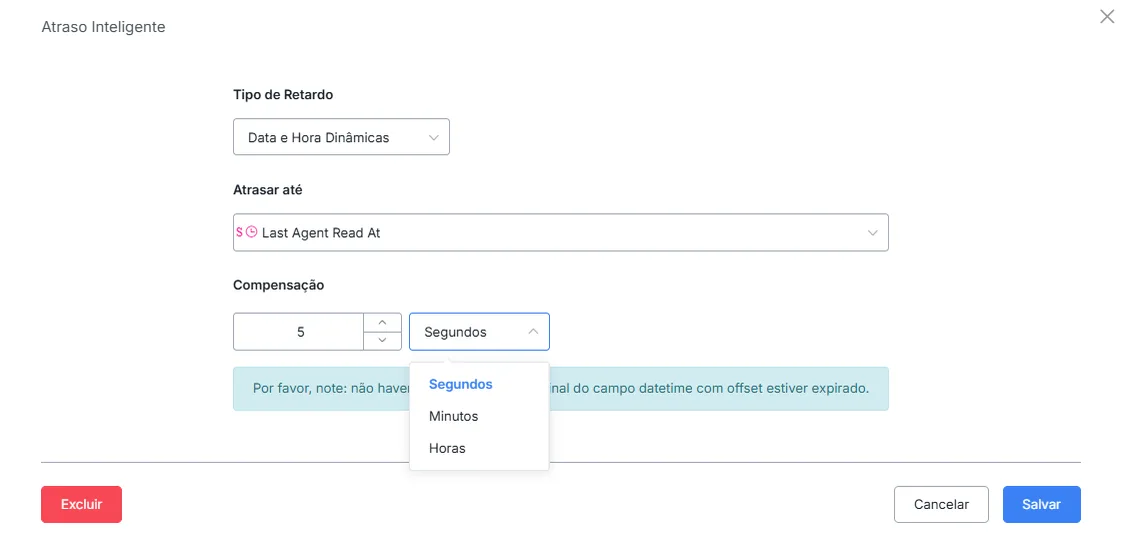
In the example above, the selected variable is 'Last Agent Read At', with an Offset of 5 seconds: the trigger will run 5 seconds after the time stored in the 'datetime' variable.