Stripe Tools - NicoApp
Welcome to the guide for integrating NicoChat with the Stripe NicoApp. This documentation provides a detailed step-by-step on how to set up and use the NicoApp features.
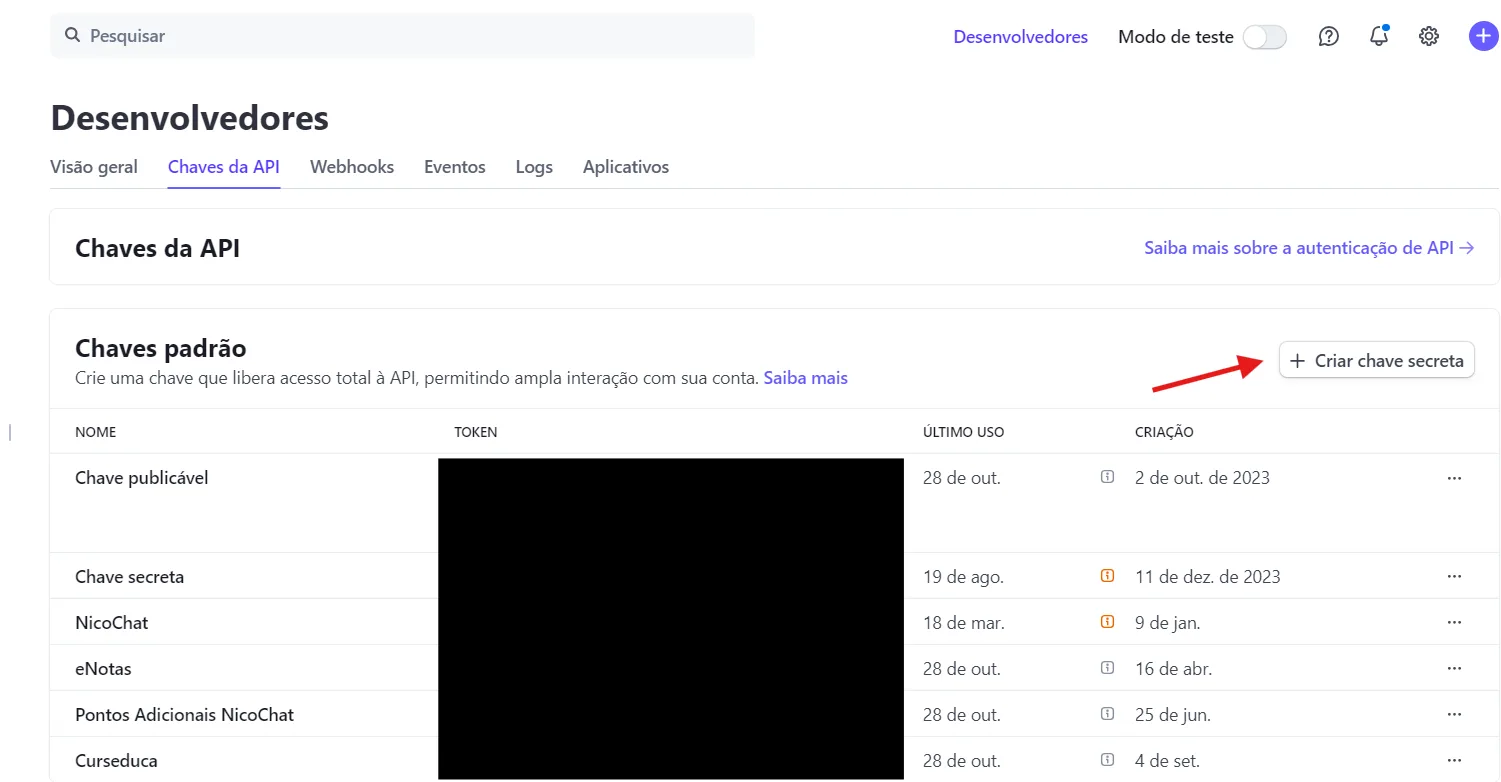
To make requests via API, you first need your authentication key (secret key). To get your key, go to: https://dashboard.stripe.com/apikeys
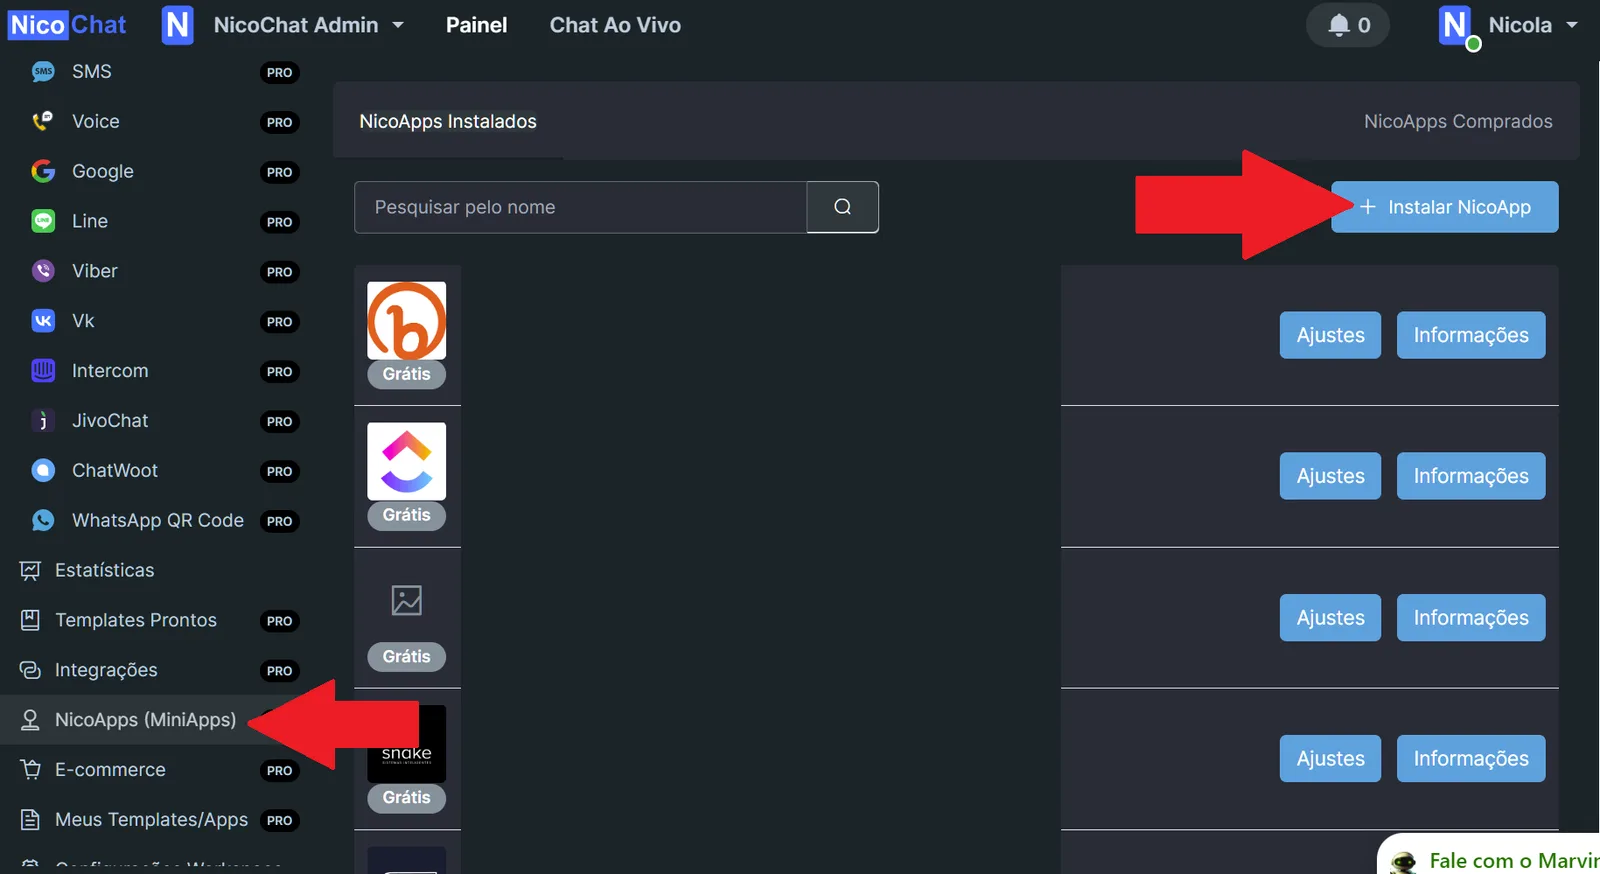
- Go to the "NicoApps" section in NicoChat.
- Select and install the latest version available for Stripe (e.g.: 1.1, 1.2).
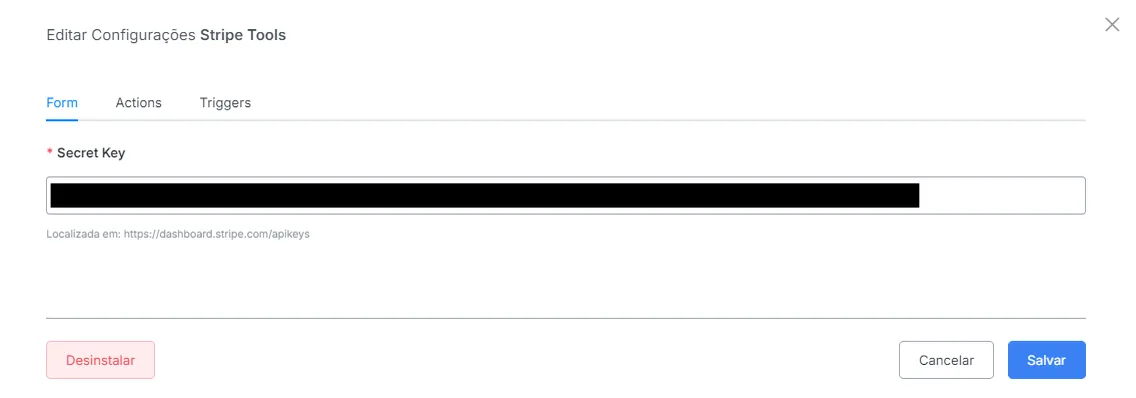
- In NicoChat, paste the copied credentials into the appropriate fields and save.
- Click Create secret key
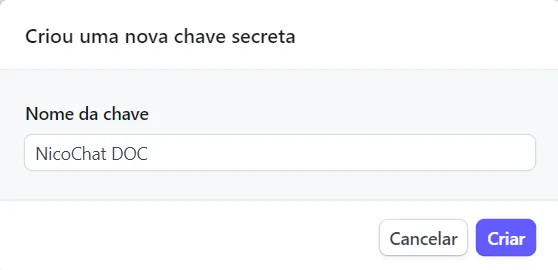
2. Name your API key and click Create
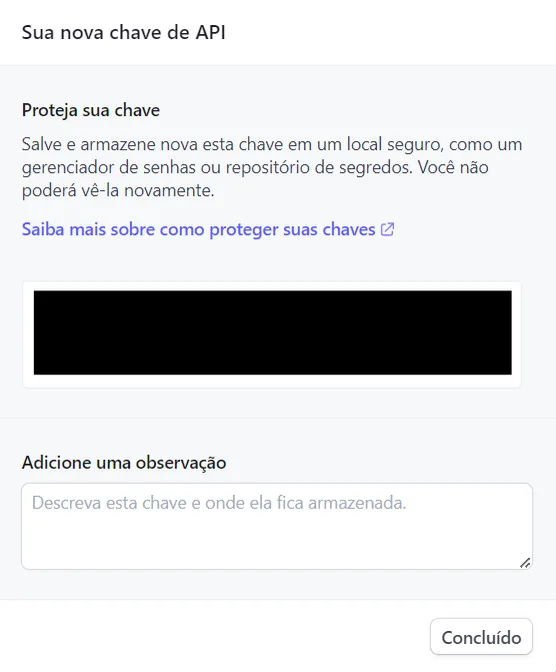
- Copy the generated API key
In "Tools", go to "Webhooks". Create a new Webhook and name it "Stripe".
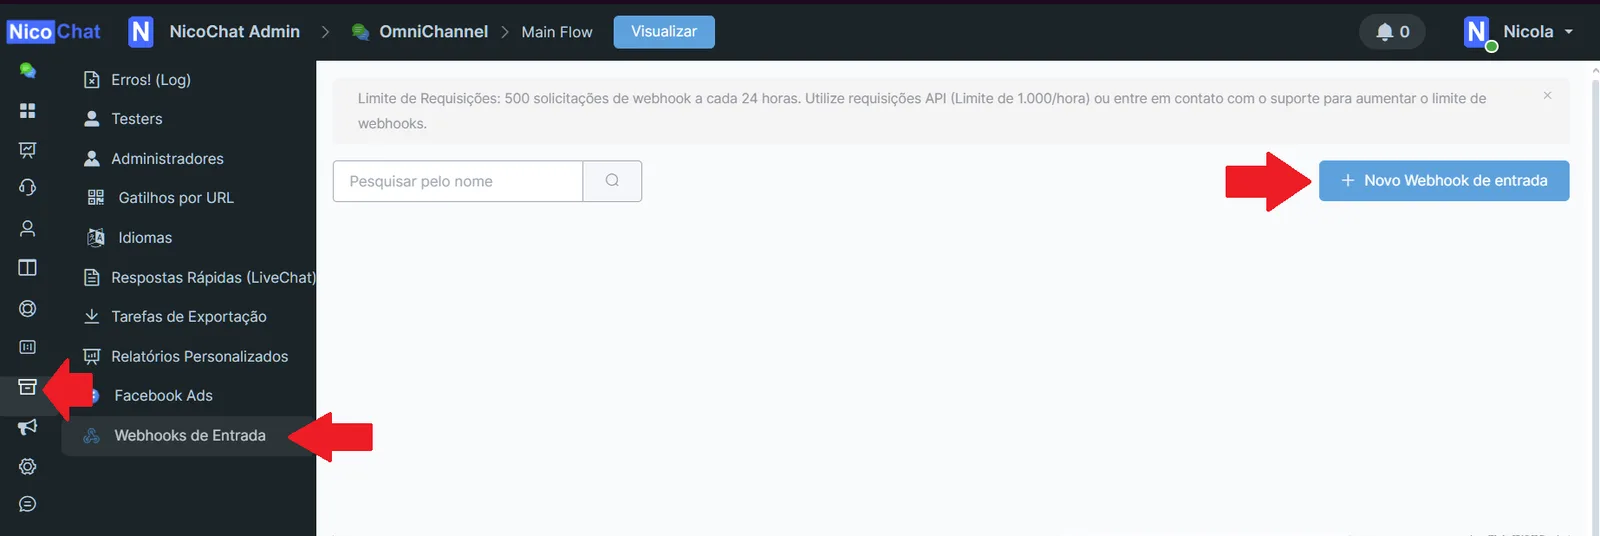
Create a new Webhook, name it "Stripe" and copy the URL provided.

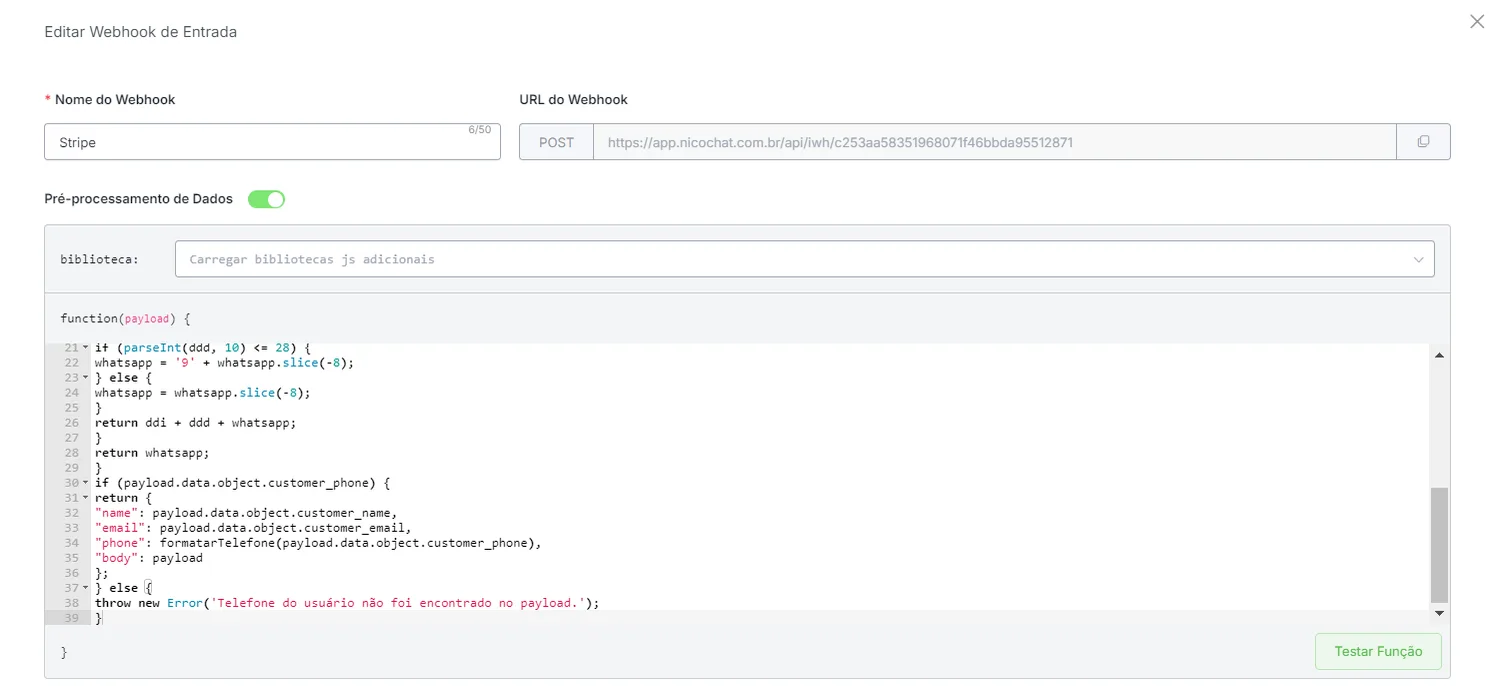
Click “Edit”, enable “Data Preprocessing” and enter the code below:
function firstName(nomeCompleto) {
const parts = nomeCompleto.split(' ');
const first_name = parts[0];
return first_name
}
function lastName(nomeCompleto) {
const parts = nomeCompleto.split(' ');
let last_name = parts.slice(1).join(' ') || '';
return last_name
}
function formatarTelefone(telefone) {
let whatsapp = telefone.replace(/\D/g, '');
if (telefone.startsWith('+55') || telefone.startsWith('55') || (telefone.startsWith('+') && !telefone.startsWith('+55'))) {
return whatsapp;
}
const ddi = "55";
let ddd;
if (whatsapp.length === 10 || whatsapp.length === 11) {
ddd = whatsapp.slice(0, 2);
whatsapp = whatsapp.slice(2);
if (parseInt(ddd, 10) <= 28) {
whatsapp = '9' + whatsapp.slice(-8);
} else {
whatsapp = whatsapp.slice(-8);
}
return ddi + ddd + whatsapp;
}
return whatsapp;
}
if (payload.data.object.customer_phone) {
return {
"name": payload.data.object.customer_name,
"email": payload.data.object.customer_email,
"phone": formatarTelefone(payload.data.object.customer_phone),
"body": payload
};
} else {
throw new Error('Telefone do usuário não foi encontrado no payload.');
}
Then click “Preview Payload” and map the Email, Phone and Webhook Body fields as shown below:
JSON Path: $.phone => Map response to field: Phone (Click add)
JSON Path: $.email => Map response to field: Email (Click add)
JSON Path: $.name => Map response to field: First Name (Click add)
JSON Path: $.body => Map response to field: {{JSON variable to store the Webhook body}} (Click add)
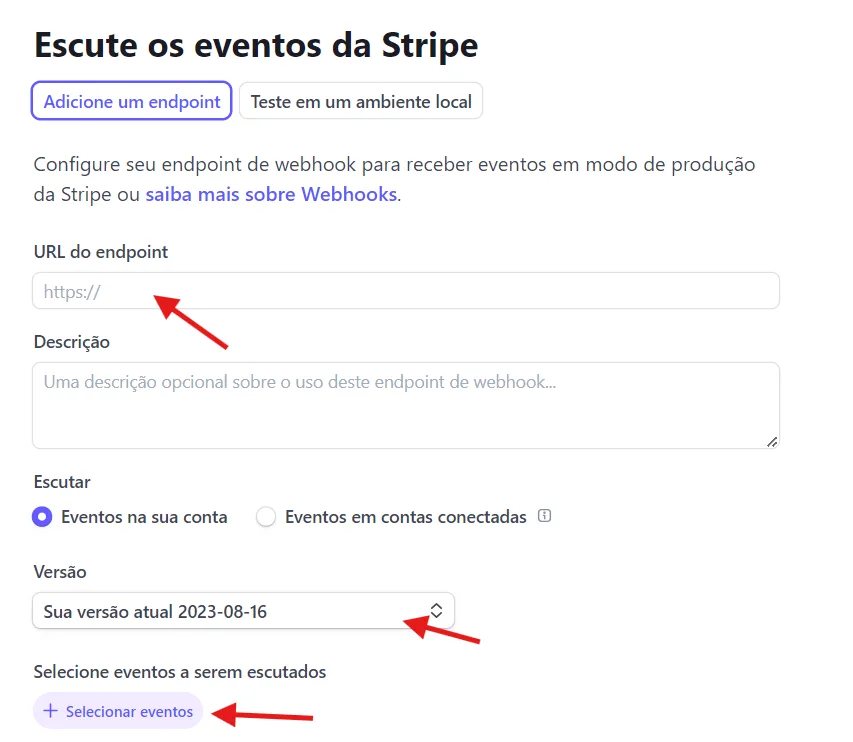
After the edits, copy the URL provided. Then go to: https://dashboard.stripe.com/webhooks/create and follow the step-by-step instructions.
- Paste the URL in the indicated field
- Always keep the current version already provided in the tool
- Select the events you need in Stripe
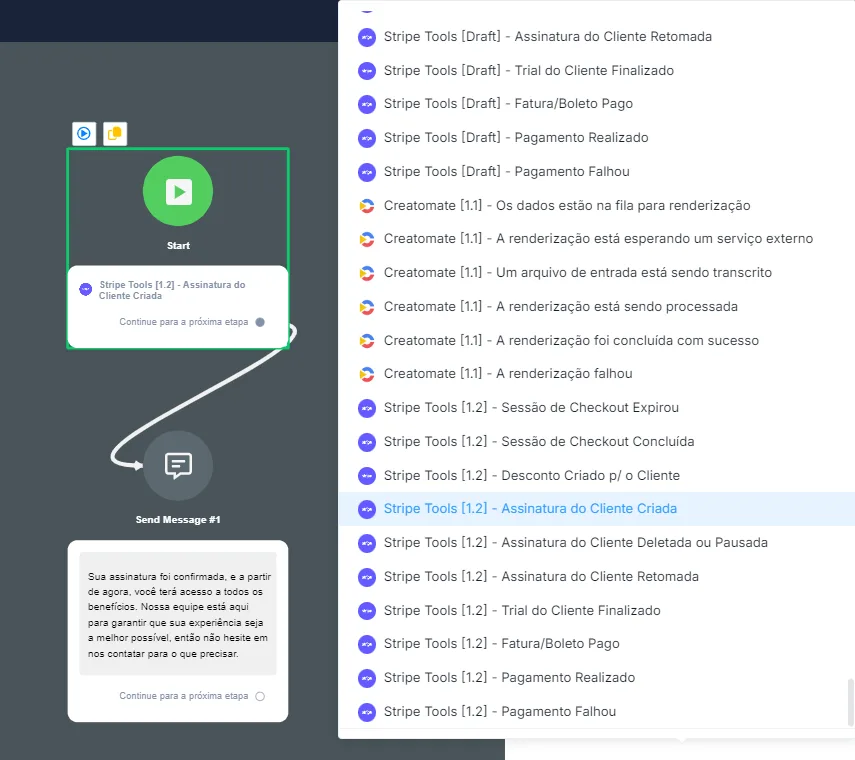
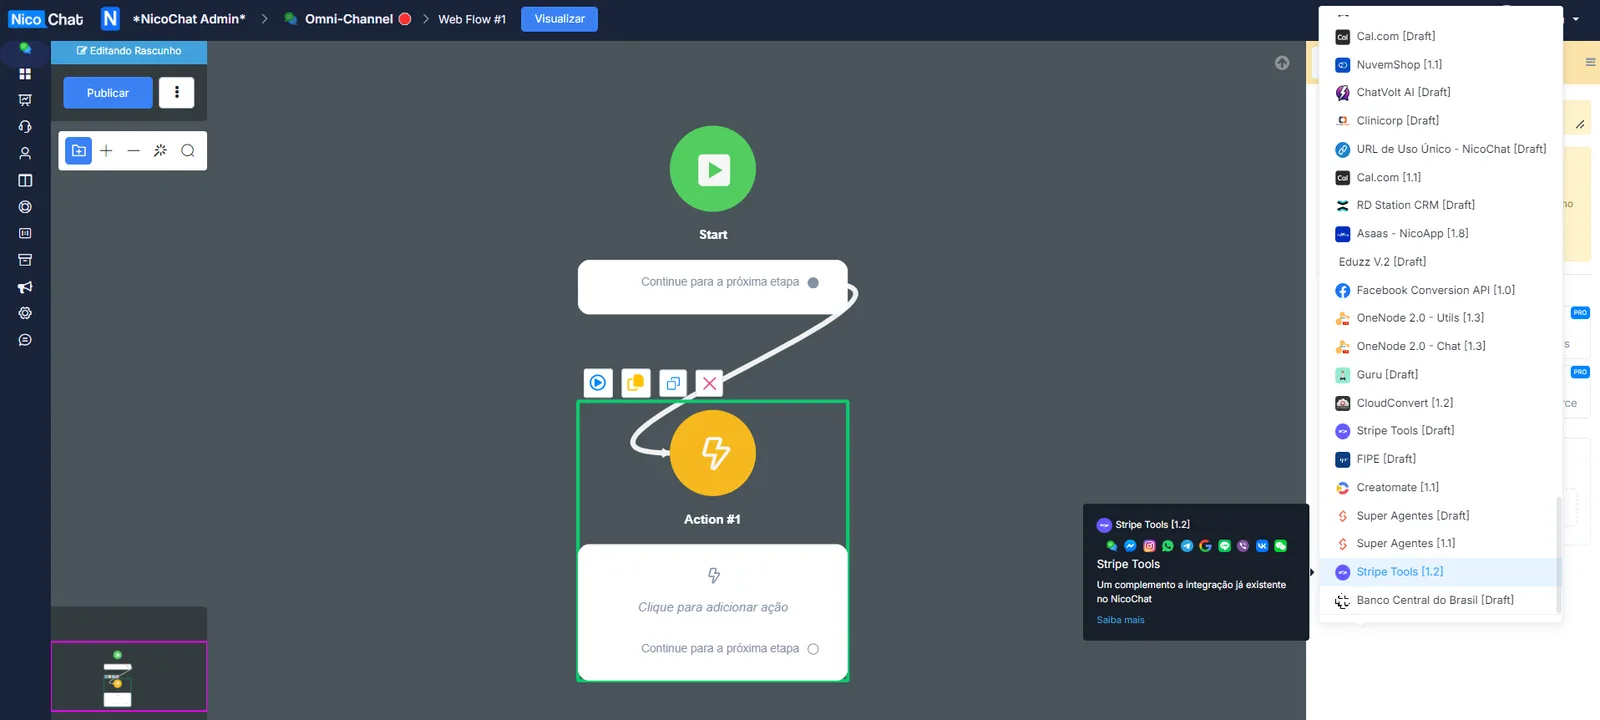
Create a SubFlow in NicoChat, insert an action block and select Integrations > Stripe.
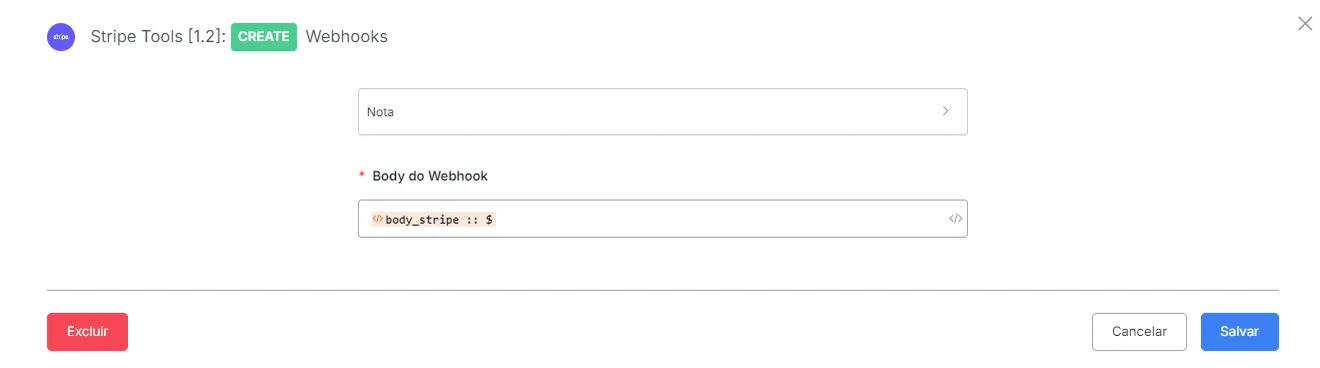
Then select “Webhook” and enter the JSON of the “webhook body” created earlier. Then save.
Then go back to Tools > Webhooks and select the flow created:

Create a flow in the channel where the Webhook was configured and select the flow activation triggers according to the events chosen in the Event Release by Stripe.