JivoChat Live Chat
In this section, you will learn how to use Jivo Chat to handle all the live chats across the 12+ social channels that NicoChat supports.
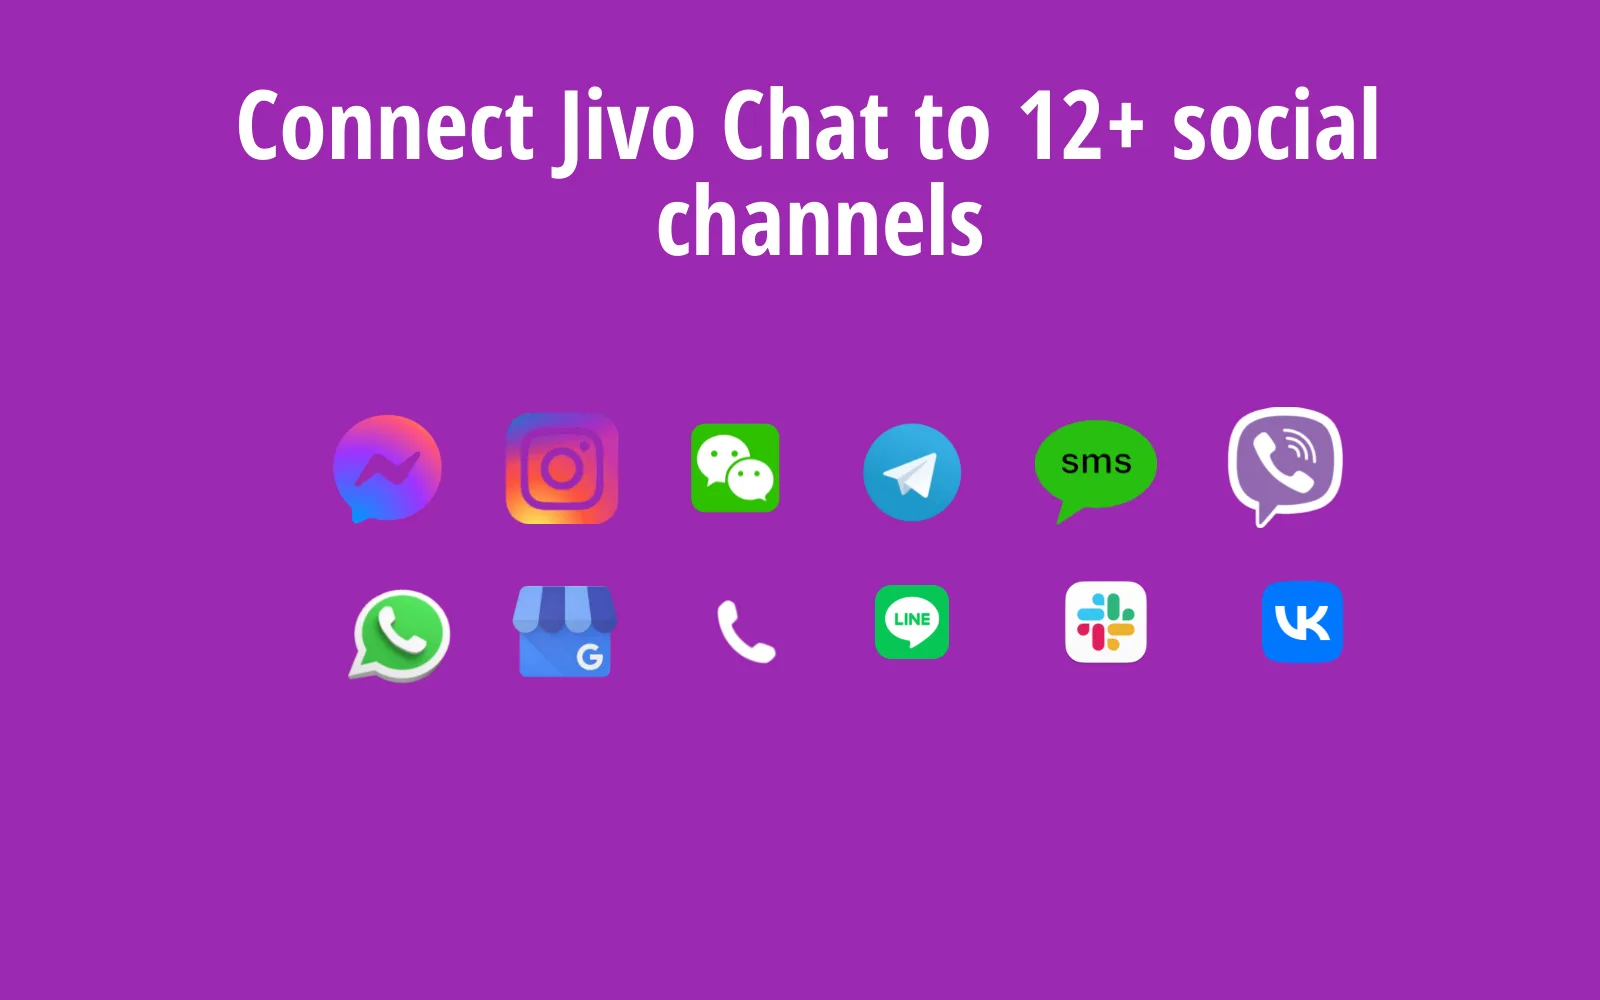
Facebook Messenger, Instagram, WhatsApp, Google Business Messenger, SMS, Voice, Slack, Line, Viber, VK, Intercom, Jivo Chat and WeChat
The benefit of using NicoChat with Jivo Chat is that chatbot automation and AI (Dialogflow integration) can reduce support tickets without triggering Jivo Chat.
You will be able to:
- Reduce 80% of support by filtering out requests with chatbot automation and AI
- Receive and respond to customer inquiries across all 12 social channels
- Build your smart chatbot with the NicoChat visual flow builder and Google's AI
You will learn how to set up Jivo Chat to handle all live chat support in NicoChat.
Below is the checklist of what you need to make this work.
Now, let's start setting this up.
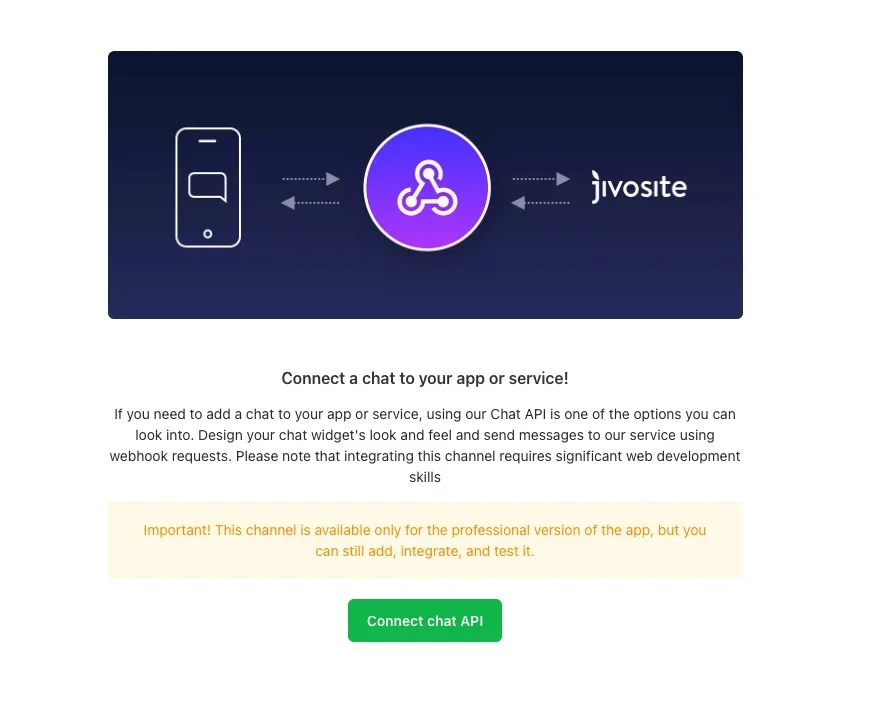
To begin, log in to your Jivo Chat dashboard, find the Chat API and click “connect”.
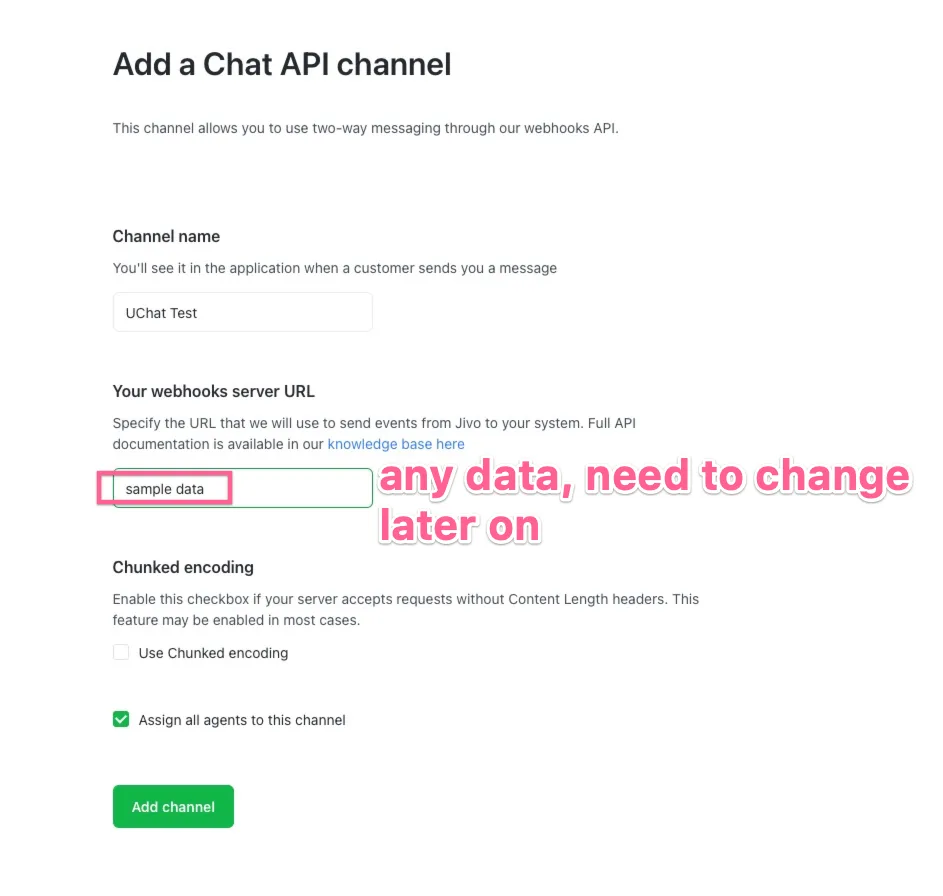
Then, on the screen below, add the channel name, enter any value in “Your webhooks server URL” and click “Add Channel”.
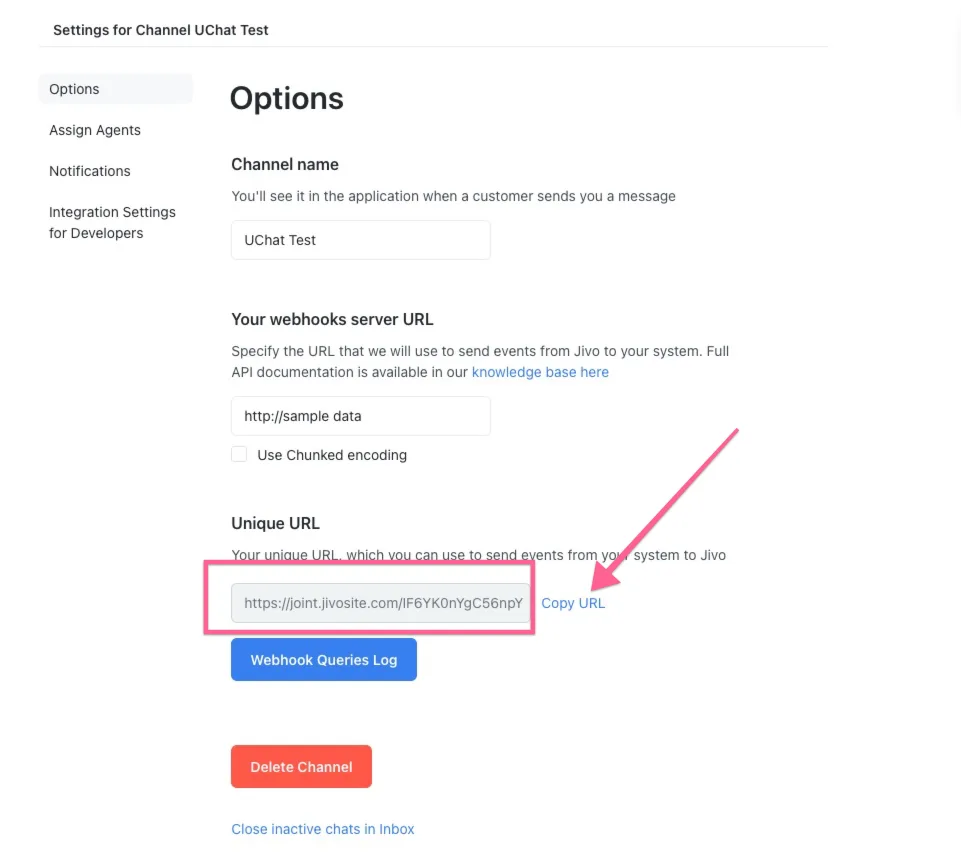
After clicking “Add Channel”, you will be redirected to the screen below. Copy the webhook URL from Jivo Chat and paste this webhook URL into NicoChat.
Then log in to the NicoChat dashboard, go to “Integration”, select “Jivo Chat” and paste the Unique URL from Jivo Chat as shown in the image below.
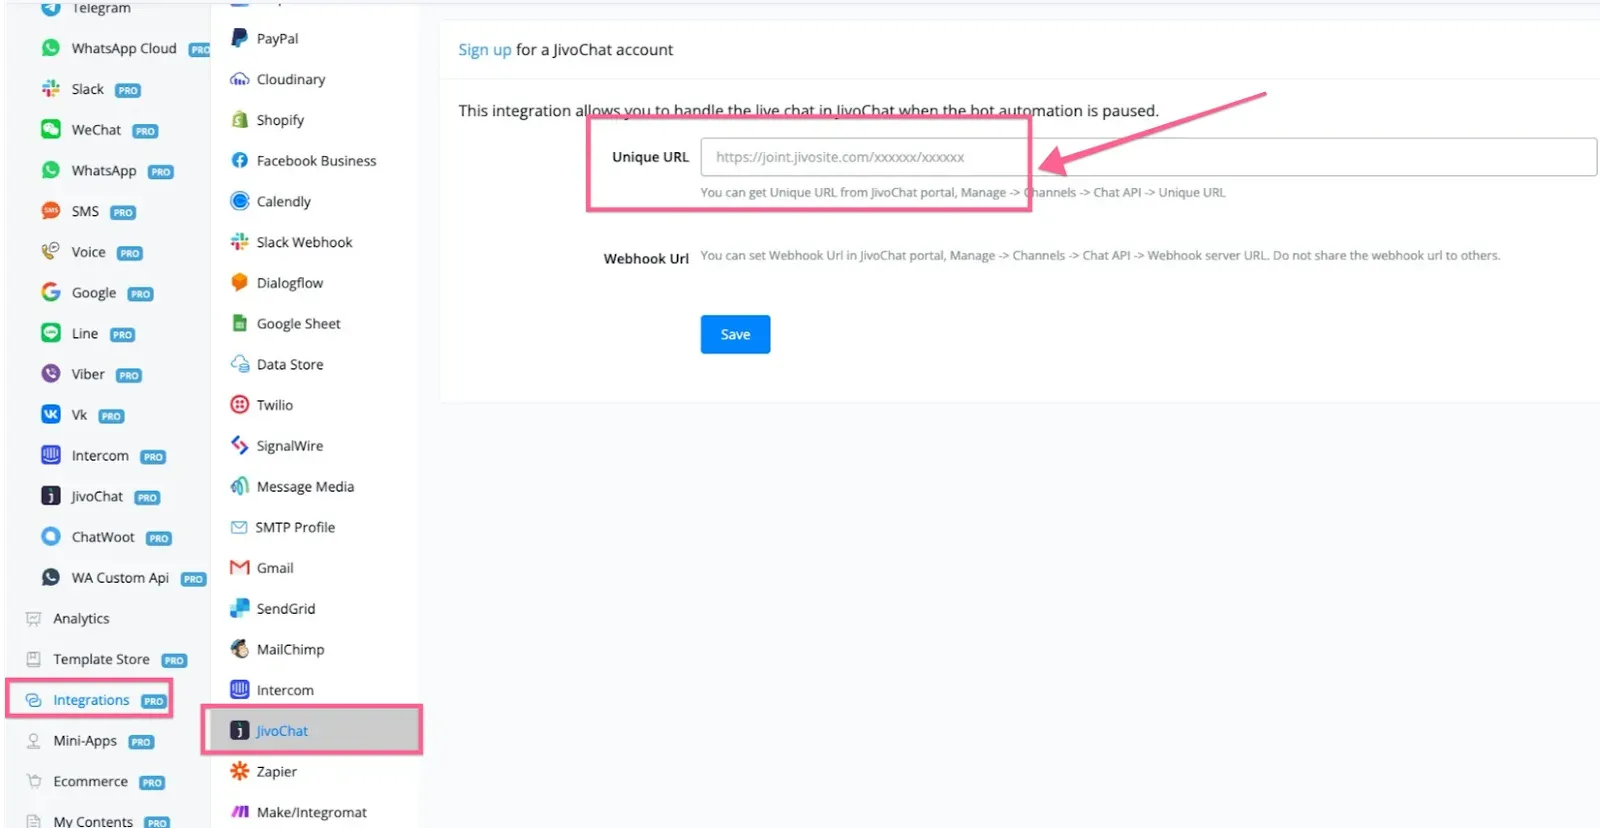
After pasting the Jivo Chat webhook into NicoChat, click the save button: it will generate the NicoChat webhook.
In the next step, you need to set up the webhook URL from NicoChat to Jivo Chat.
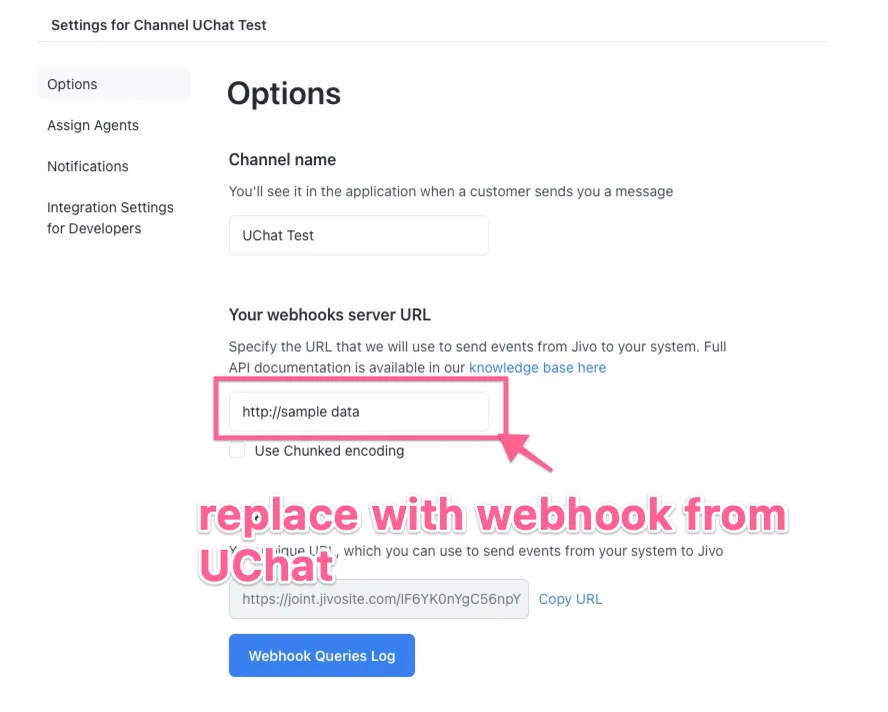
In the last step, you generated the webhook in NicoChat. Now go to Jivo Chat and replace the sample data/dummy data we entered in the previous step.
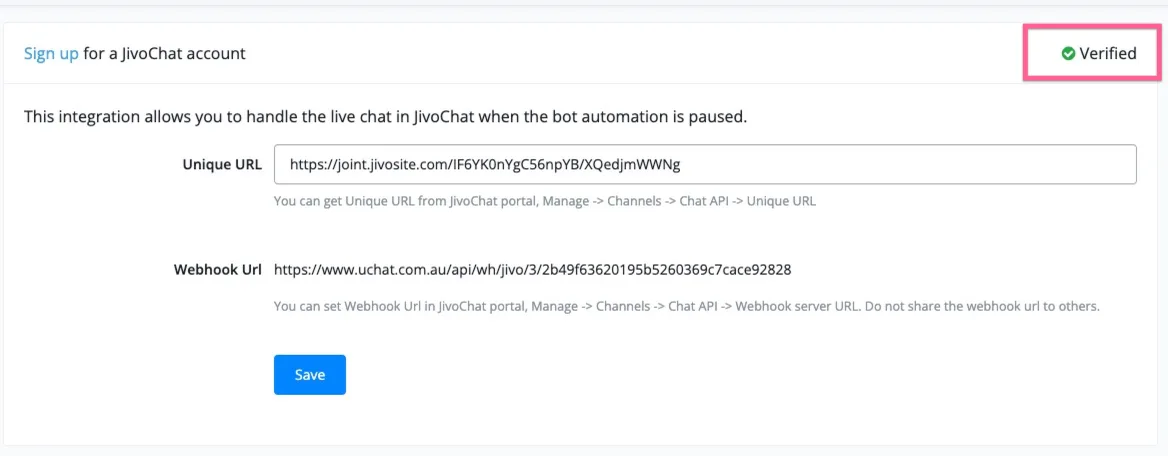
Done, the connection is set up and we can move on to the next step. If the webhook on both sides is set up correctly, when you click save in NicoChat you will see “Verified” in the live chat integration, as shown in the image below.
In any channel supported by NicoChat, you can use Jivo Chat to handle live chat. If you set everything up according to the instructions below, after you pause the automation in the flow builder all the following conversations will be sent to the Jivo Chat agents.
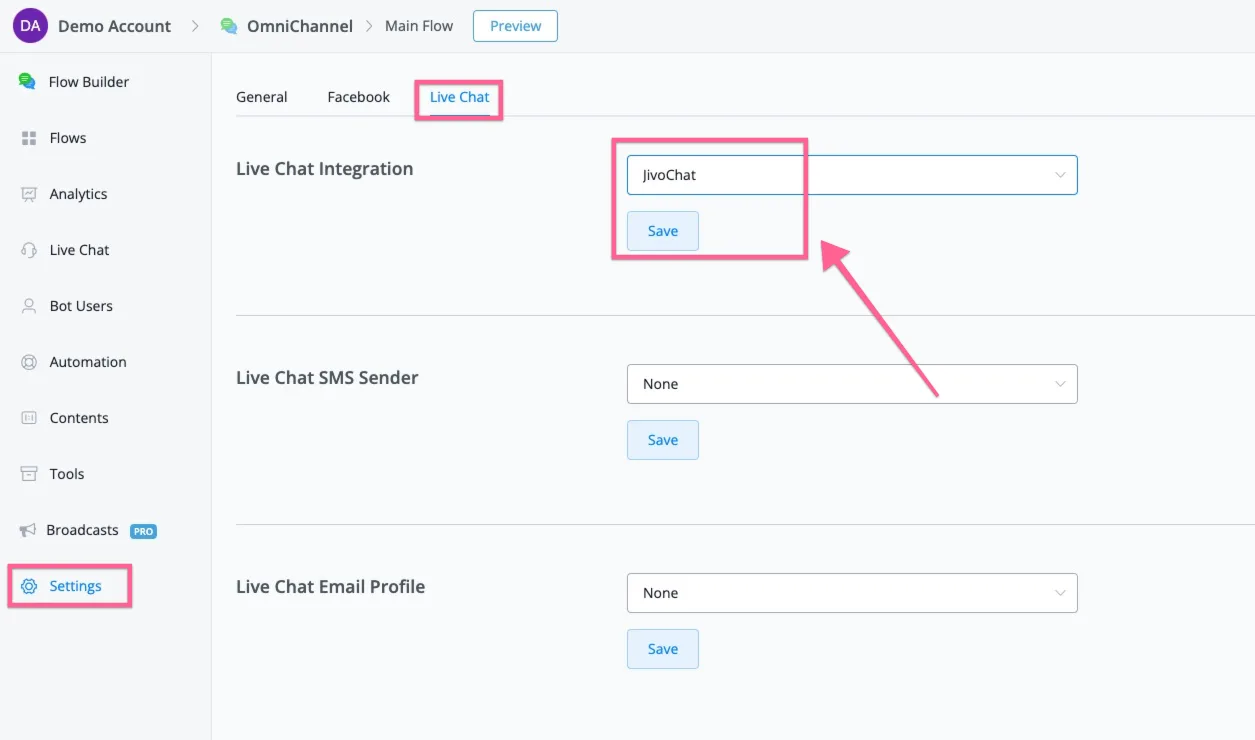
So, in the channels, go to “Settings”, open the “Live Chat” tab and select “Jivo Chat” from the live chat integration dropdown list.
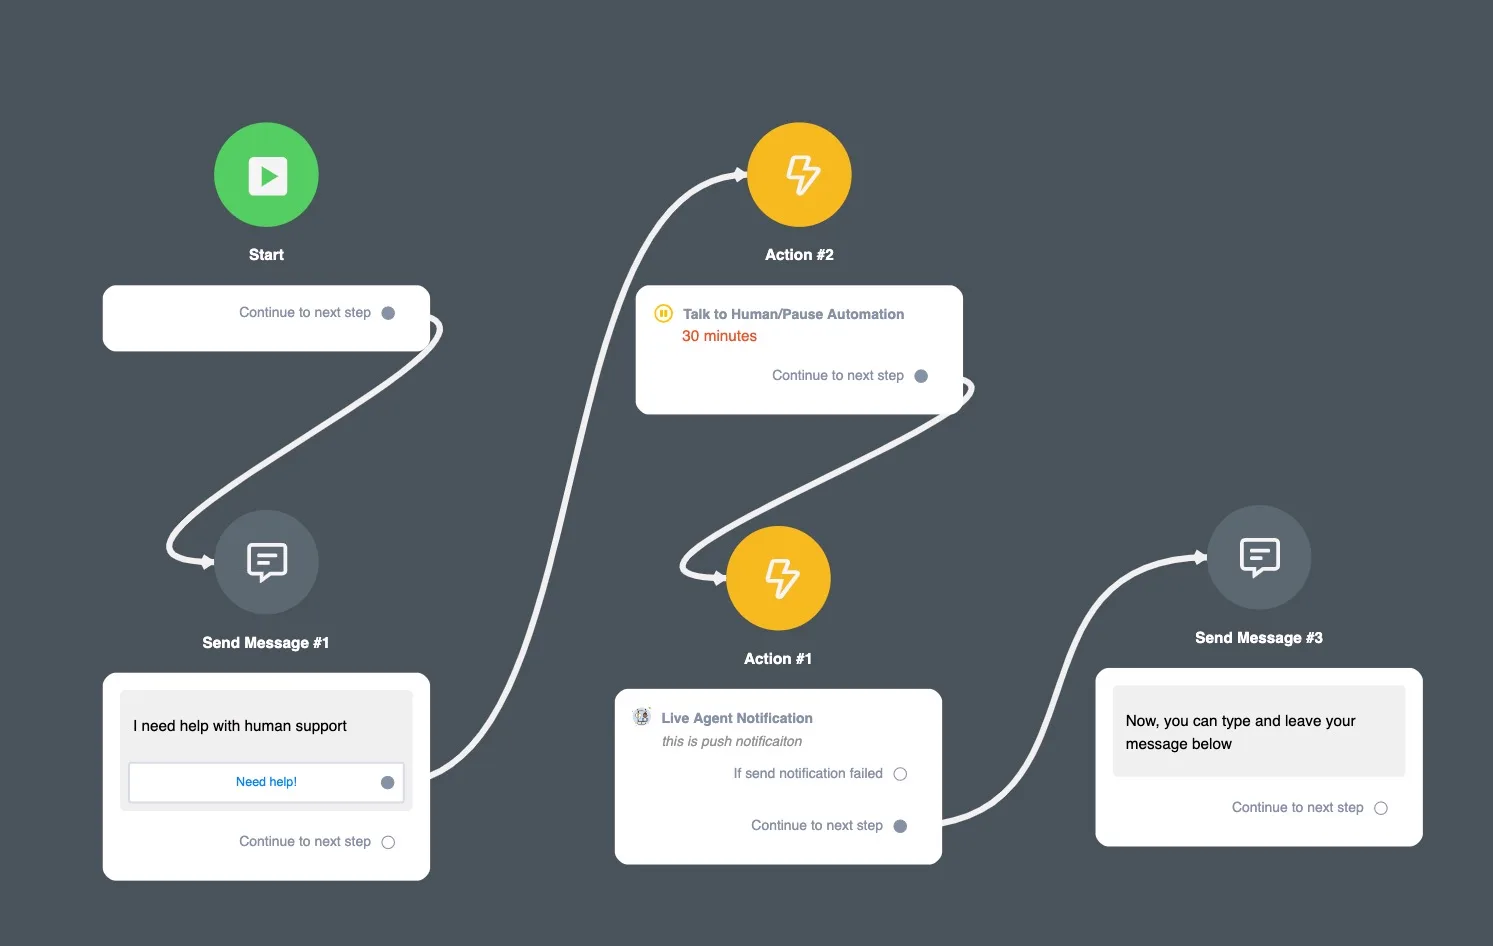
This is the last step to set up the live chat transfer to Jivo Chat. In any flow builder, first use “Pause Automation”, in the basic actions, and connect it to the “Live Chat notification” in the flow builder. From there, all live chat will be sent to Jivo Chat.
You can use this in any of the 12+ social channels we support.
Here is a screenshot of the flow builder.