Send Email
Here's a detailed, step-by-step guide on how to use the "Send Email" action in the flow builder.
YouTube video (unavailable for embedding)
1
Accessing the Send Email action:
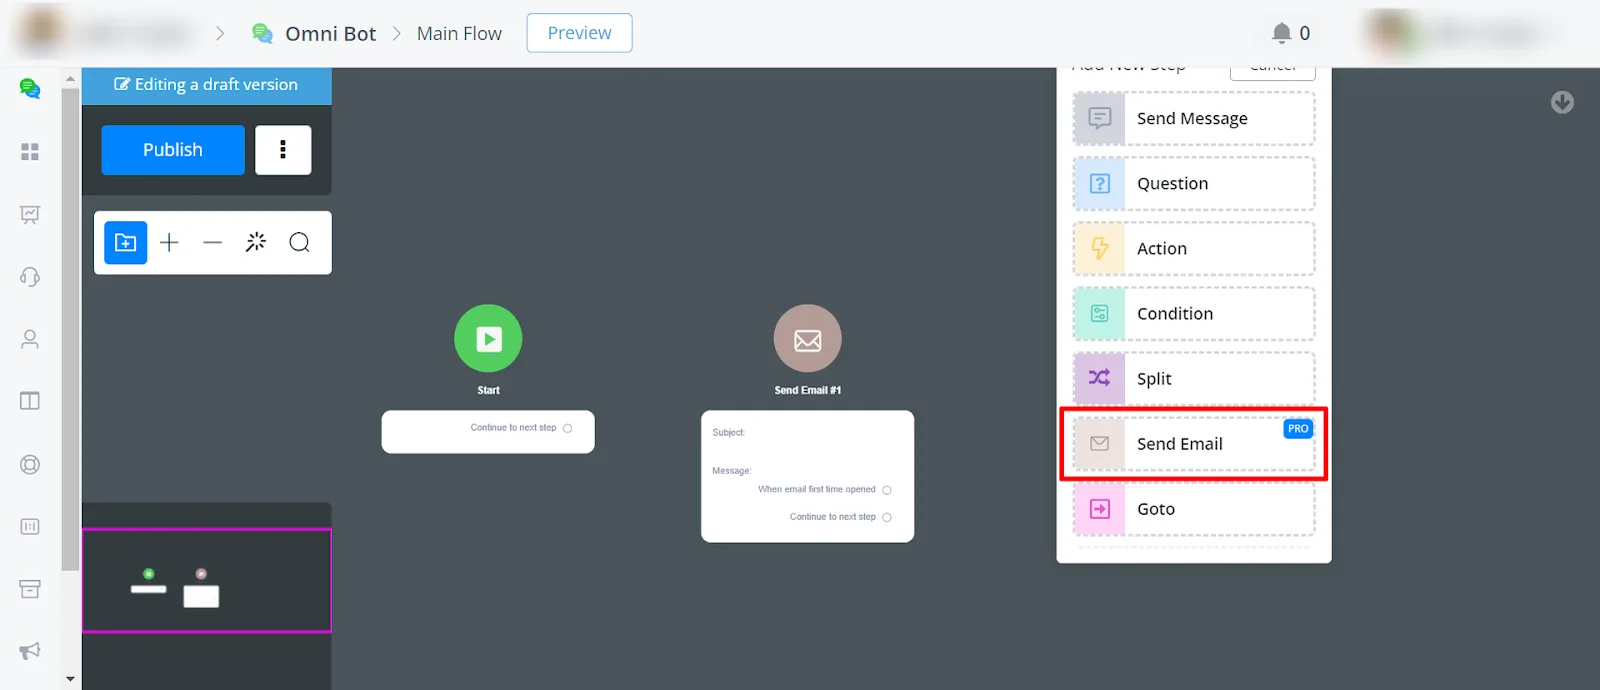
In the flow builder, right-click to open the action menu. Select the "Send Email" action from the list.
1
Configuring the Send Email node:
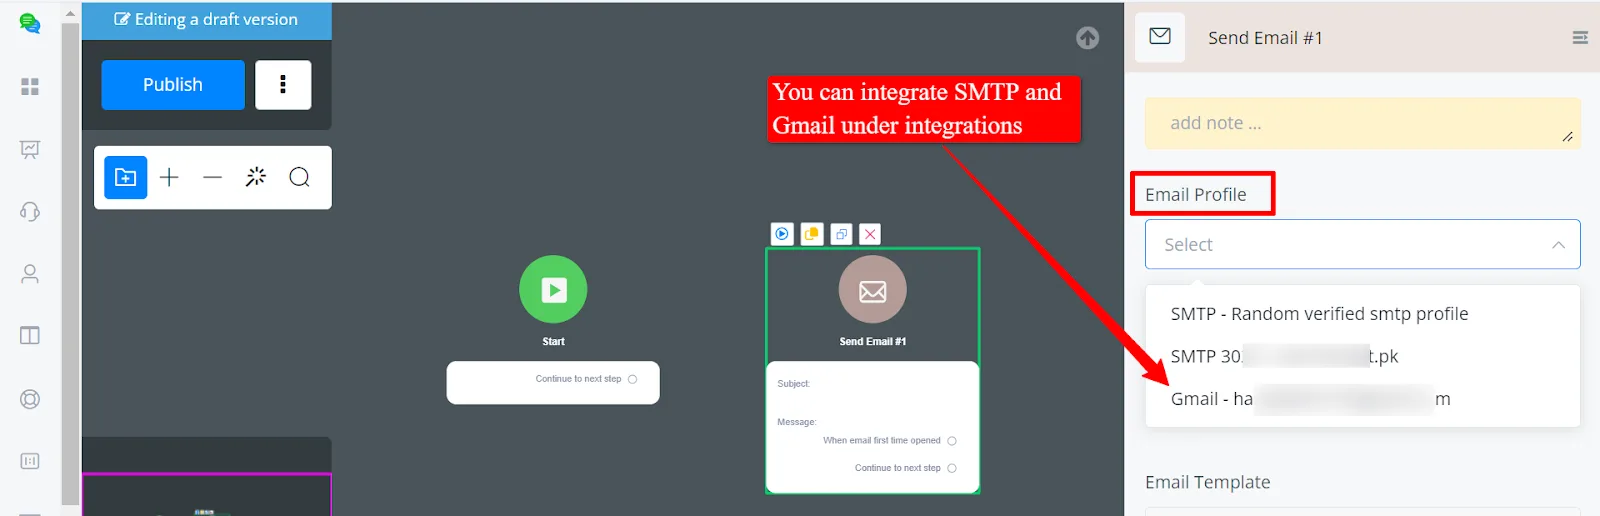
Email Profile: Select the email profile you will use to send the message. This is the sender's email address.
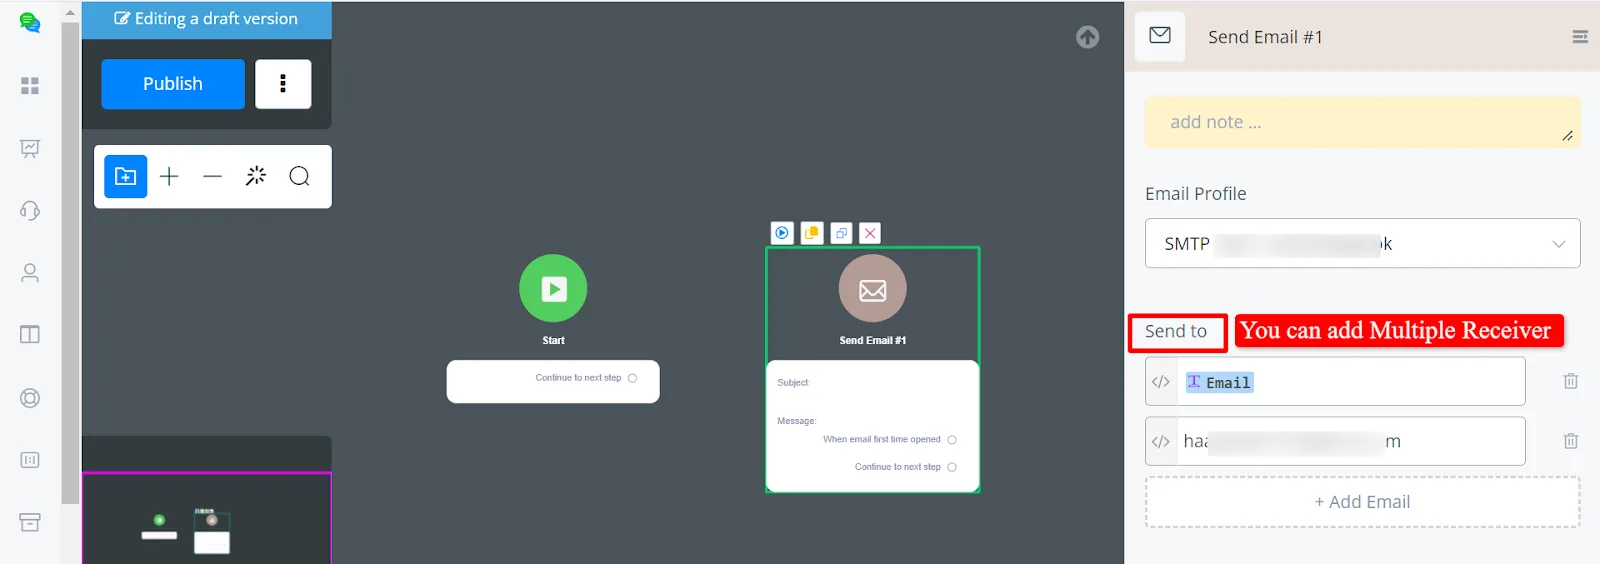
- Send To: Enter the recipient's email address.
- Email Template: If you already have a predefined email template, select it here to quickly apply a consistent format and style.
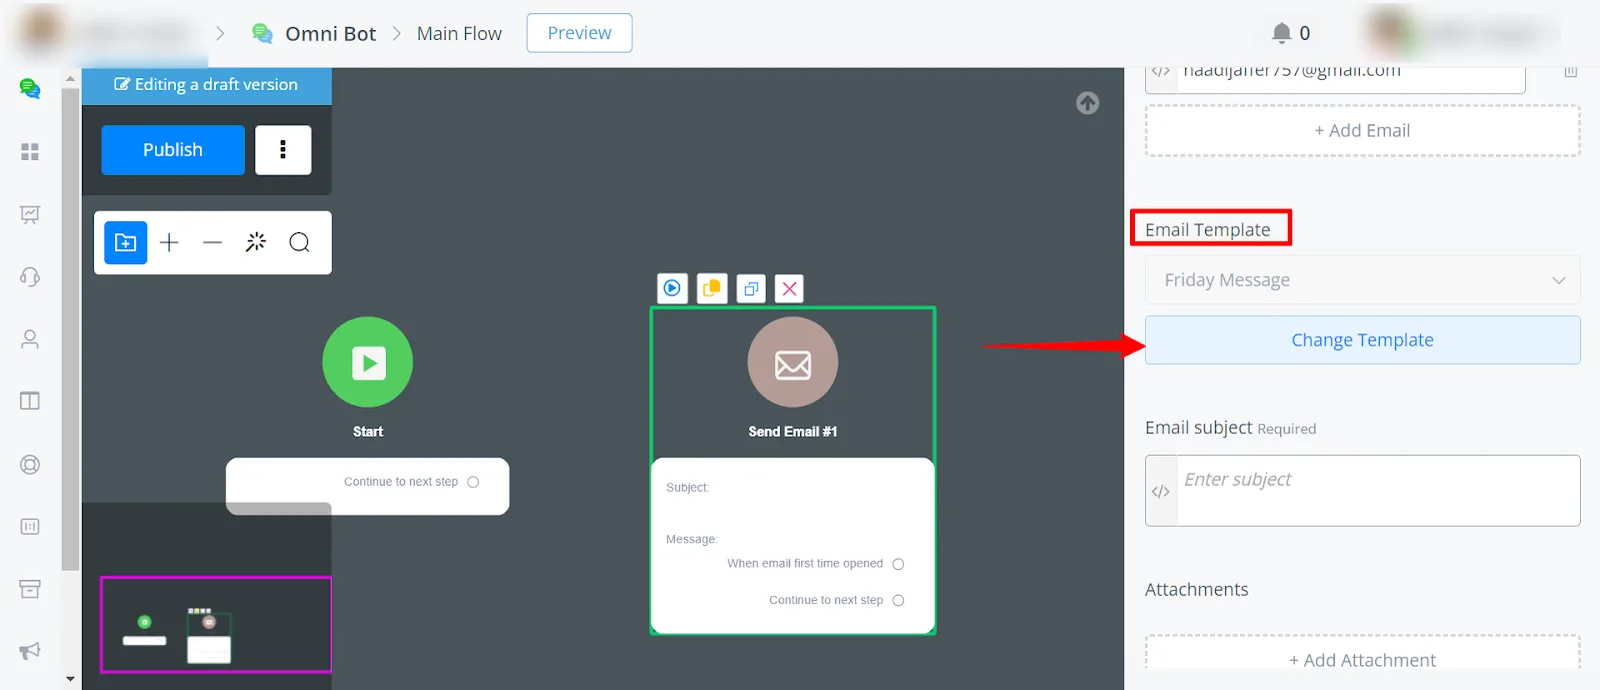
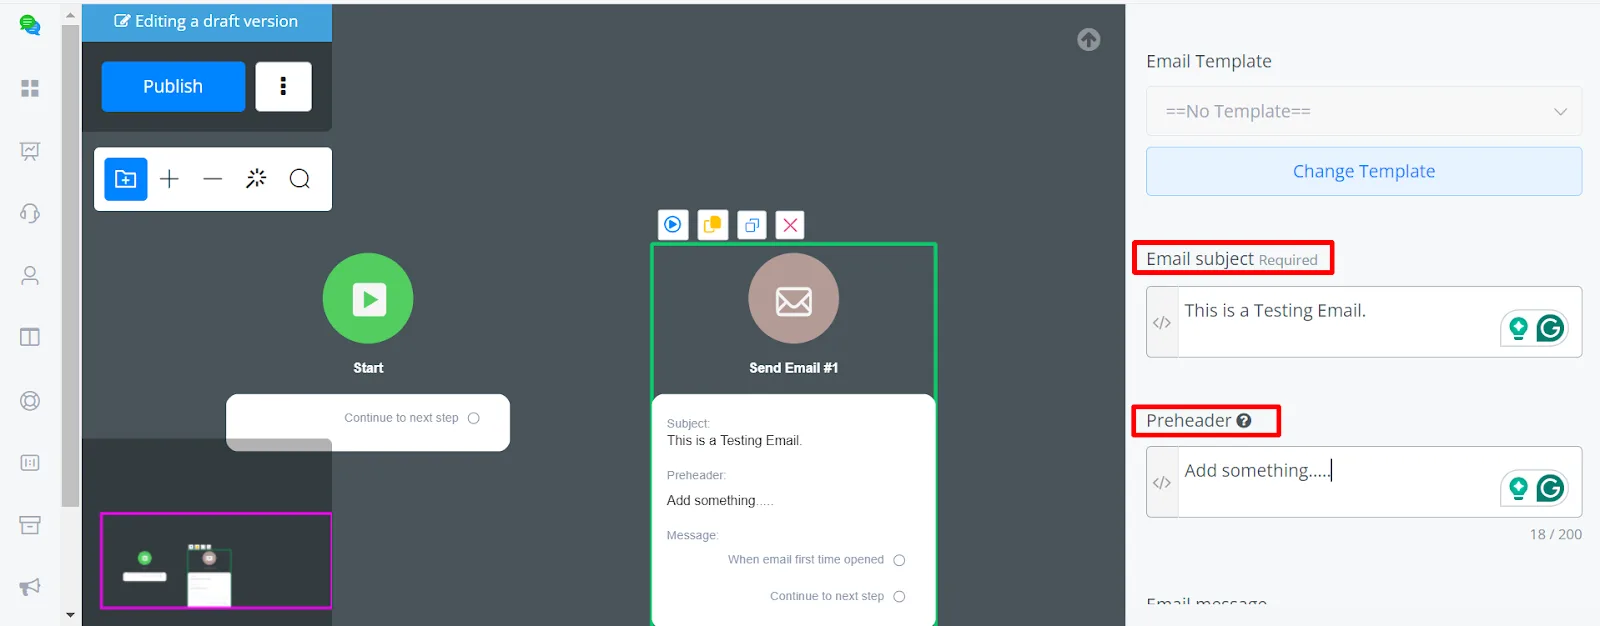
- Email Subject (Required): Write the subject line of the email. This is the first thing the recipient sees. Filling it in is mandatory.
- Preheader: Add a summary text that appears right after the subject line when the email is viewed in the inbox.
1
Customizing the email content:
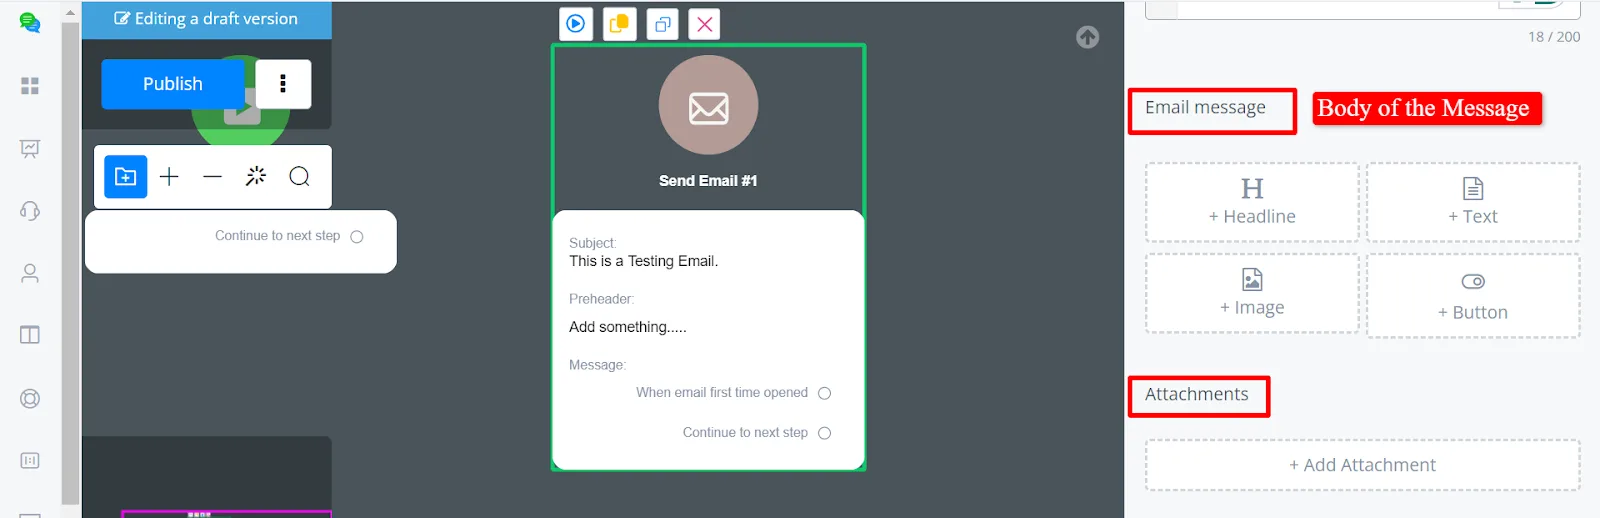
Heading: Add a heading to your email to grab attention. Text: Write the main body text of the email. Images: Include any pictures you want to embed in the email. Button: Add call-to-action buttons that guide the recipient to take specific actions, such as visiting a website or downloading a resource. Attachments: Attach any necessary files to the email.
1
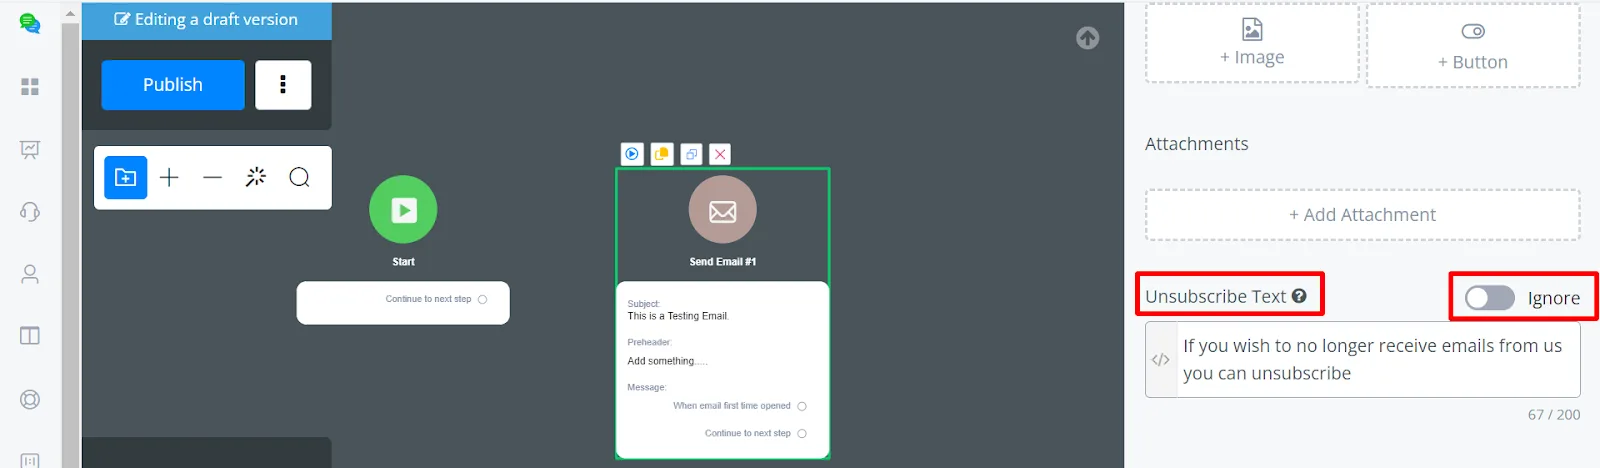
Unsubscribe Text toggle:
You can enable the unsubscribe text option to include an unsubscribe link in your email. This keeps you compliant with email marketing regulations and gives recipients an easy way to stop receiving future emails.