

Z-API - WhatsApp QR Code
Watch the video below to fully understand the Z-API connection:

Integrating NicoChat with Z-API is one of the most effective combinations to automate and enrich the WhatsApp communication experience. Its easy setup and the robust support offered make this integration the preferred choice for many users looking for efficiency and expanded functionality. This document will guide you through the steps required to establish this integration successfully.
To begin, the first step is to create a Z-API account. Z-API acts as a facilitator in the WhatsApp integration, offering a bridge for communication between your WhatsApp service and NicoChat.
- Z-API Registration: Visit Z-API using this link to get 10% off. Follow the registration process by providing the required information.
- Creating an Instance: After registering, go to the "Web Instances" section in Z-API. This action will link your WhatsApp to Z-API through a QR code, which must be scanned with your mobile device.
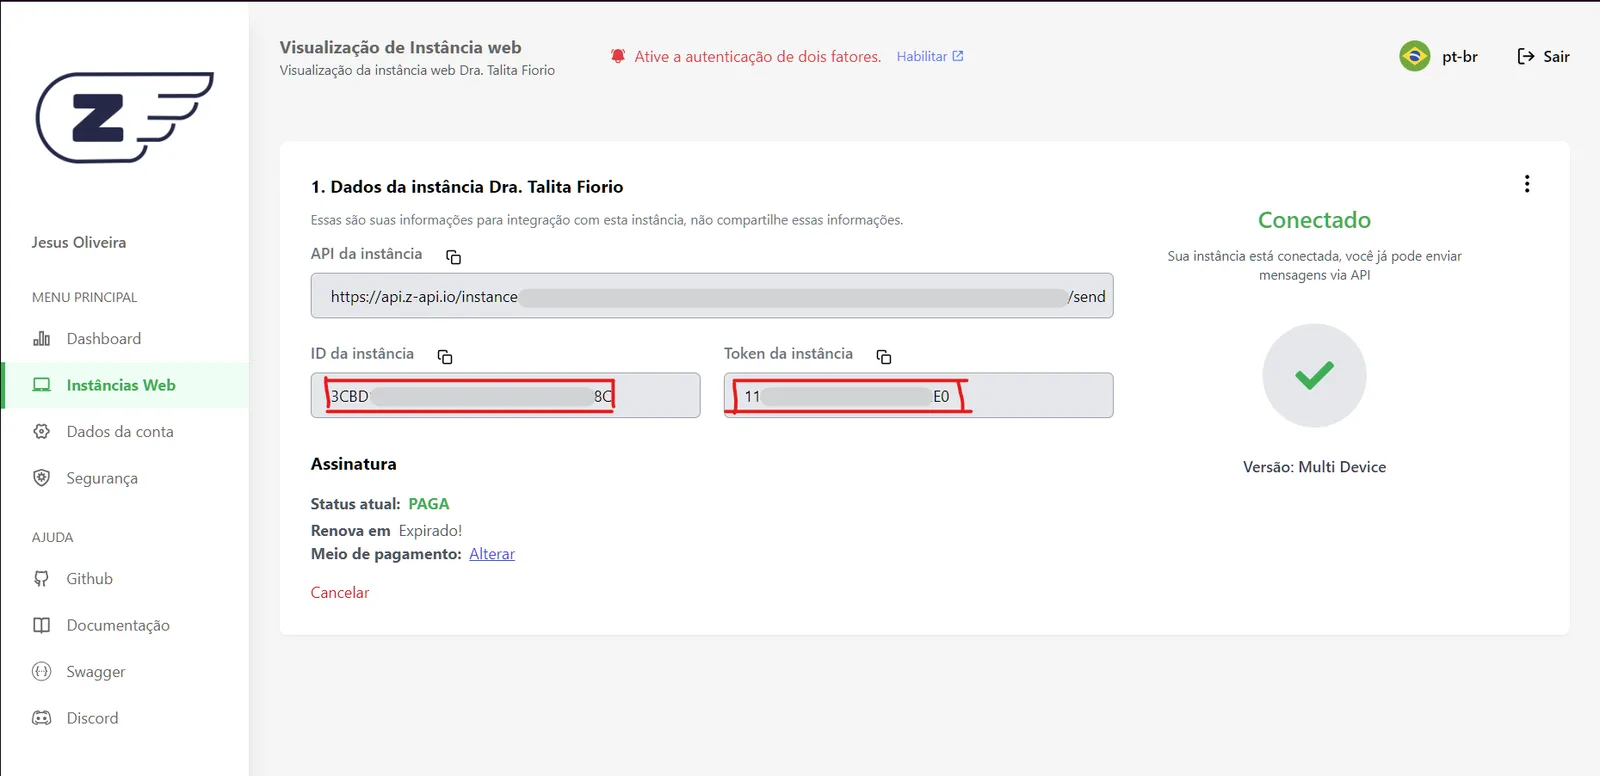
- Collecting the Instance Data: With the instance created and connected, write down the Instance Id and the Instance Token.
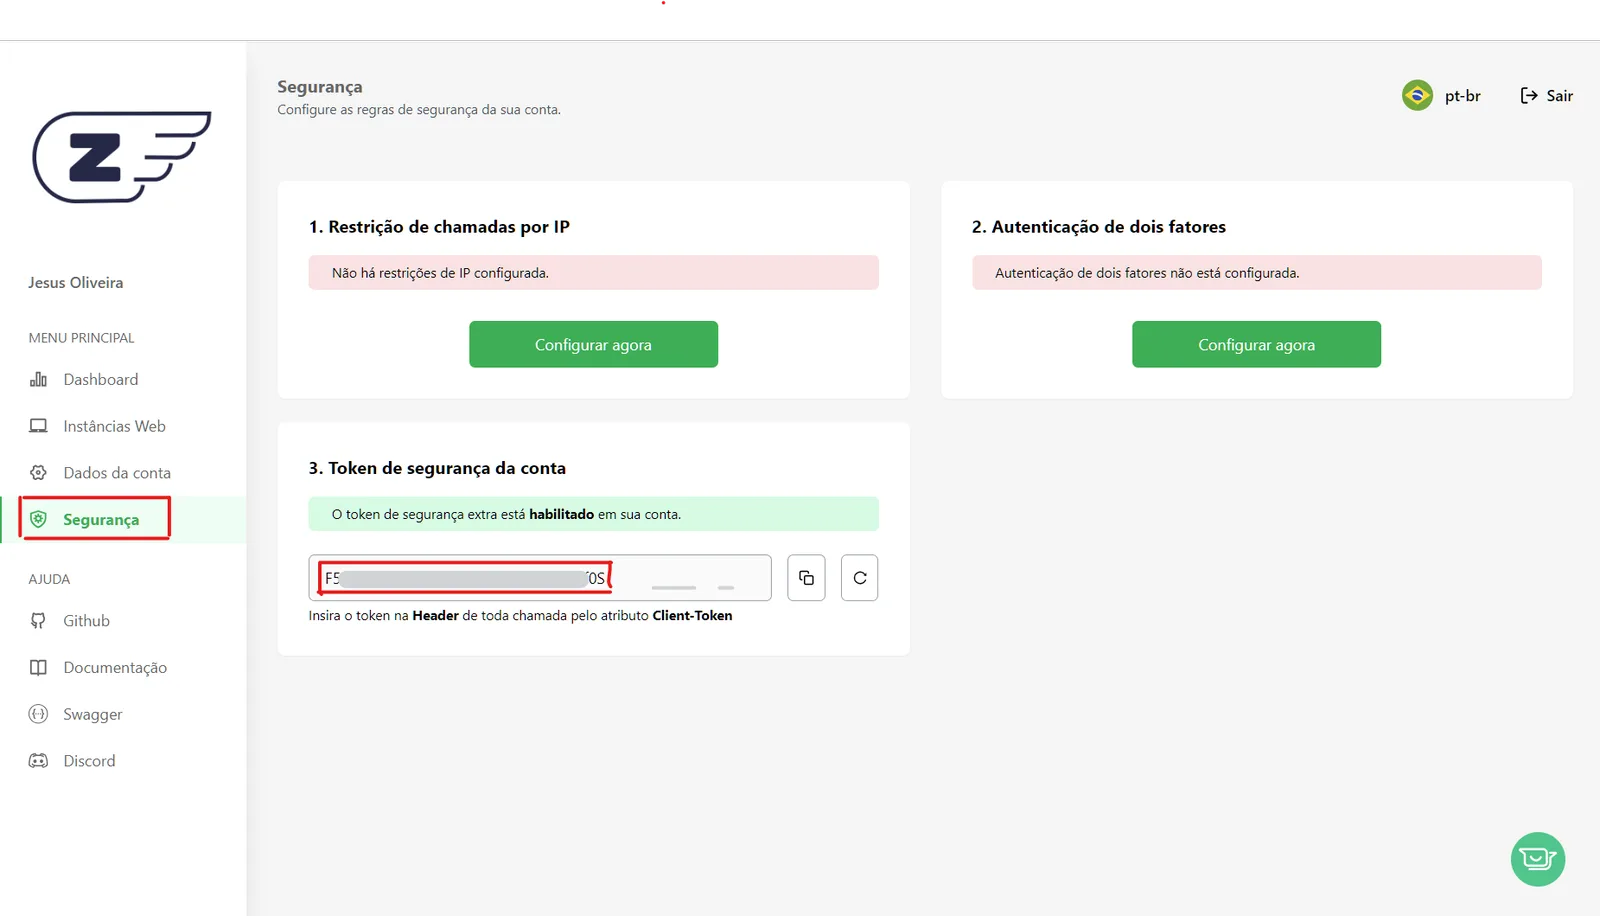
- Get the Account Security Token: In the “Security” tab you must write down the “Account Security Token”.
- Instance Id and Instance Token: Available in the Z-API instances tab.
- Client Token: Located in the Z-API security tab. This token is crucial for secure communication between the platforms.
- WhatsApp Number: Your WhatsApp number, which will be used in the integration.
- Api Domain: Will always be
https://api.z-api.io
With the Z-API data in hand, the next step is to configure the integration inside NicoChat.
- Access NicoChat: Log in to NicoChat and go to the WhatsApp QR Code tab.
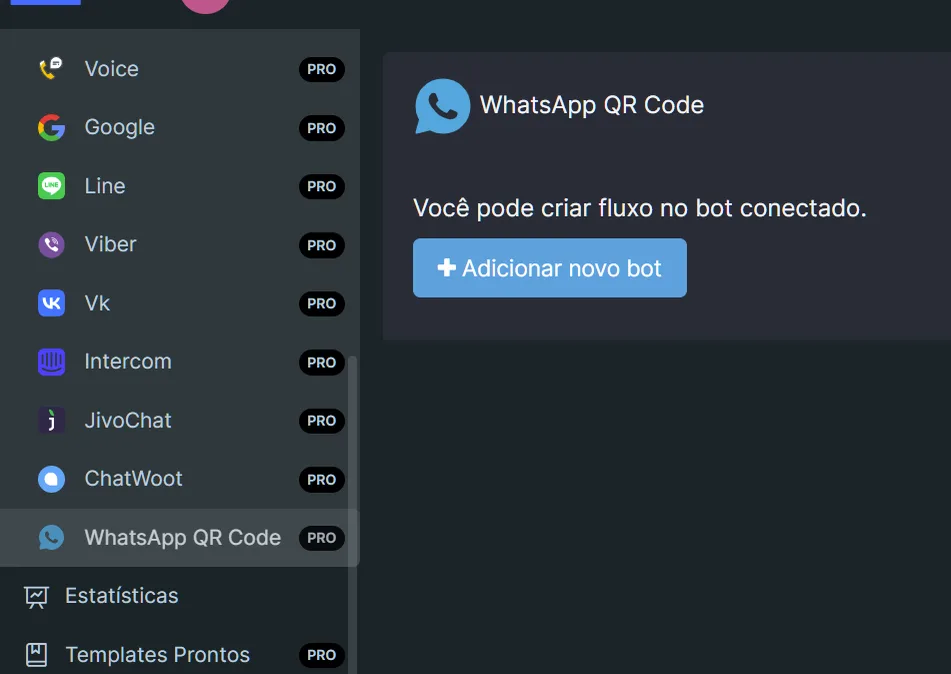
- Creating a New Z-API Bot: Select the Add New Bot > Z-API option to start the integration process.
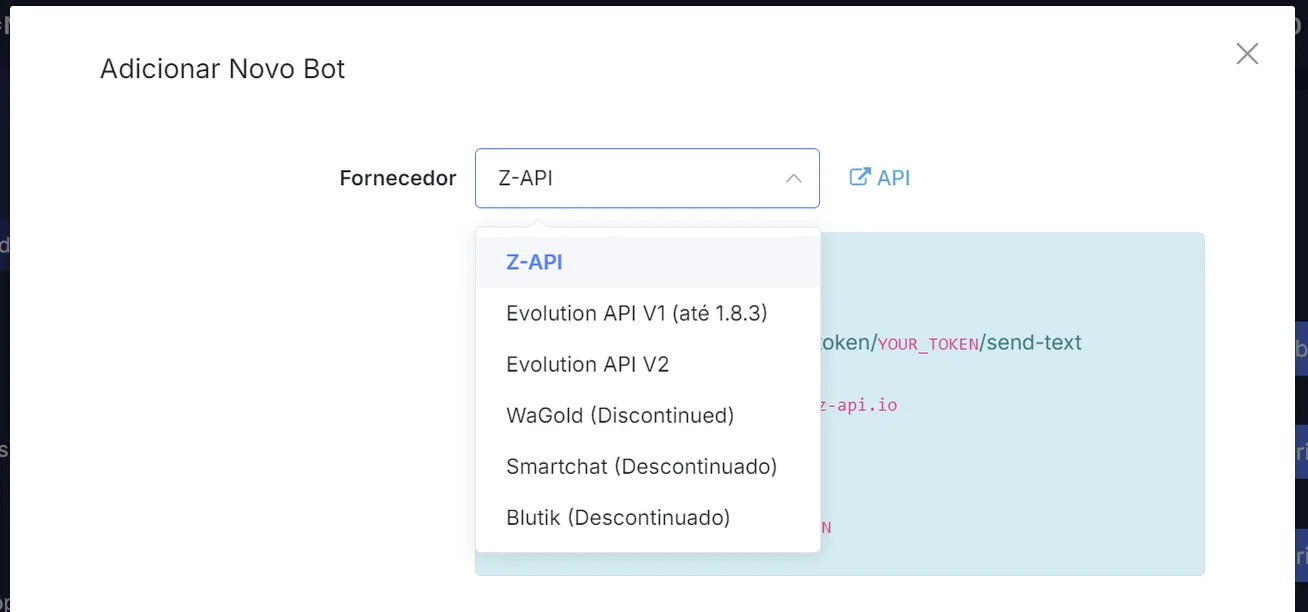
- Filling In the Data: Enter the data collected earlier (Instance Id, Instance Token, WhatsApp number, Client Token and Api Domain) in the corresponding fields.
https://api.z-api.ioIt is NOT that long URL shown in the instance!
After entering and confirming the data, a success message will indicate that the integration was established correctly. With this setup, you now have access to WhatsApp features via Z-API, integrated directly into NicoChat.
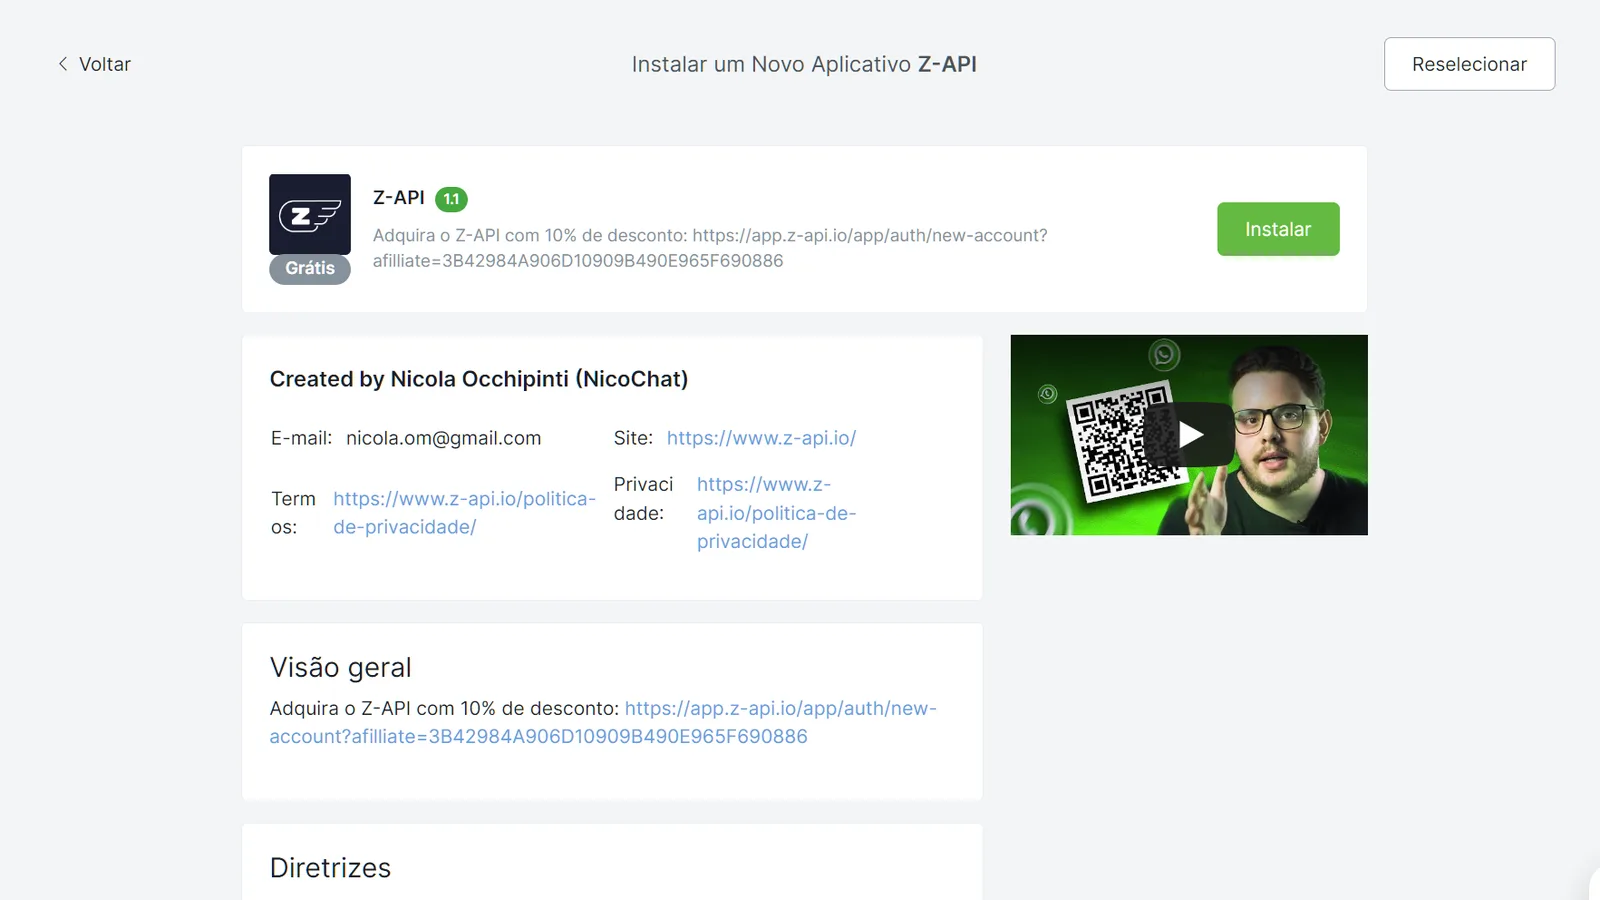
To maximize the potential of your integration, a recommended extra step is to install the Z-API NicoApp available inside NicoChat. Go to the NicoApps tab and install the Z-API app.
- Fake Call: A tool to simulate calls, increasing the possible interactions.
- Custom Links: Send customized links to contacts, improving the browsing and interaction experience.
- Routing to Agents: Makes it easier to forward messages to agents through WhatsApp when necessary.
- Several other tools…
By following this guide, you will be able to establish a smooth and effective integration between NicoChat and Z-API, unlocking a wide range of features to enrich your WhatsApp communication. This integration not only makes managing messages and automations easier, but also offers additional tools to improve the engagement and efficiency of your service.